CoSchool certificate builder lets you create eye-catching certificates within minutes. It has a drag-and-drop builder to create custom certificates for your students. You can create multiple certificates using the certificate builder addon. You will get all the necessary components and elements to give your certificates a professional look. To create new certificates with CoSchool, please follow the steps below:
1. Get the certificate builder add-on from the official website of CoSchool. You will also find more useful add-ons on this page
2. Install and activate the certificate builder on your website from the CoSchool add-on page
3. You have to activate the addon with the same credentials as the Codexpert dashboard

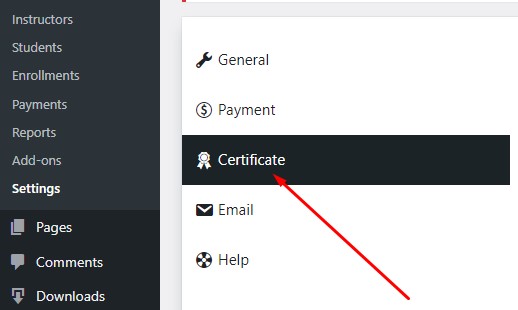
4. Go to the Settings Menu under CoSchool on the WordPress dashboard

5. Click on the certificate tab and select enable to allow instructors to issue certificates to their students.
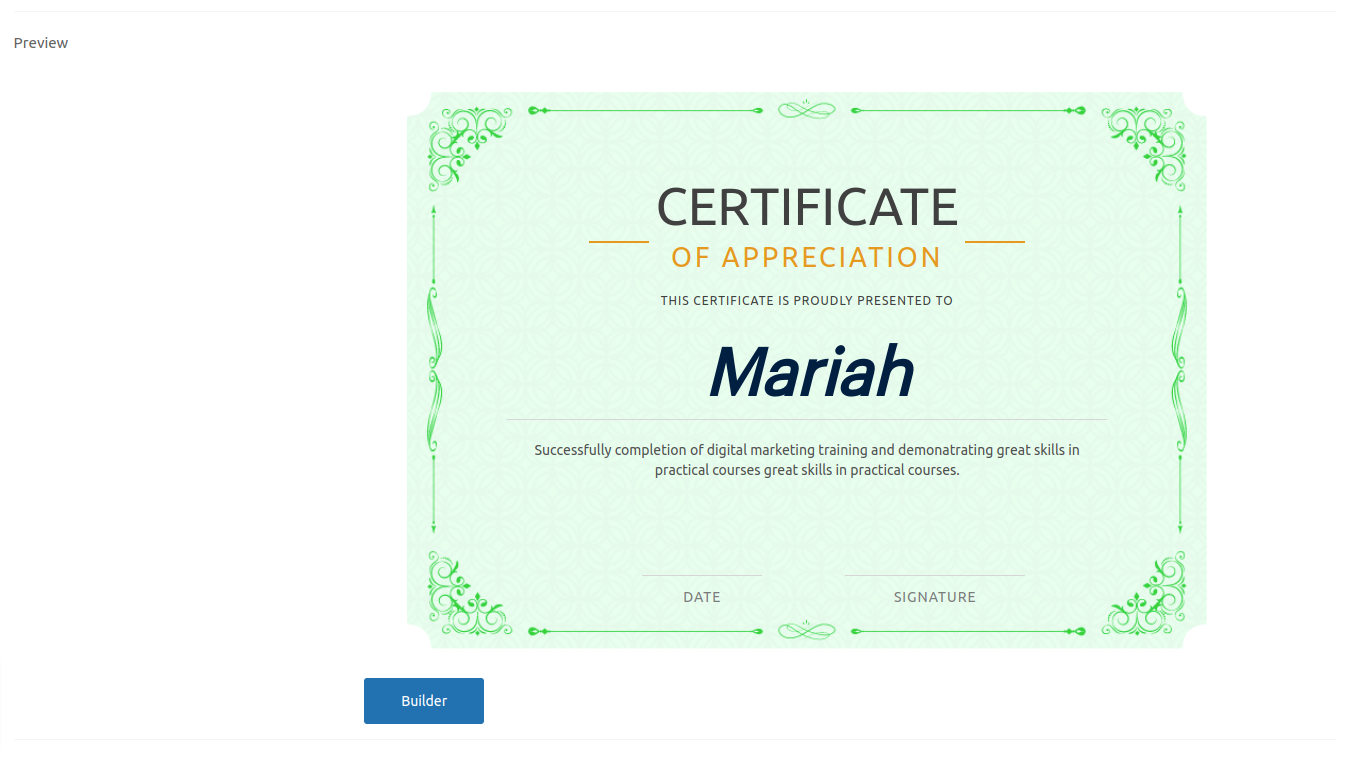
6. Press the “Builder” button to create a new certificate.
7. You can also allow the instructor to build a certificate for their students. You have to enable a button on the “certificate” page.

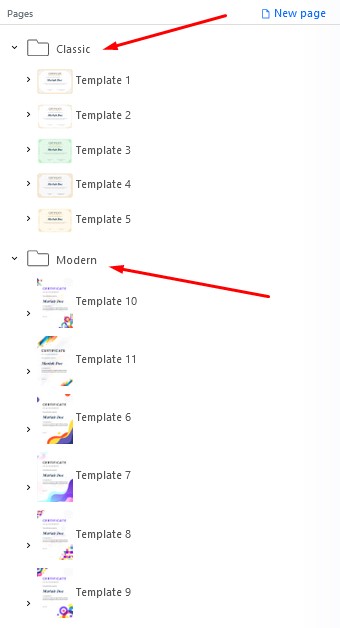
8. After saving the settings, On the “Builder page”, The instructors can easily choose pre-made templates(Classic and Modern).
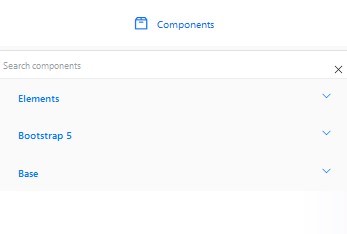
9. Otherwise, you can also customize manually with the “Certificate builder”. There are lots of options in the certificate builder. You can choose different components(the slider, thumbnail gallery, layouts, and headings)
10. You can further design the certificates using display conditions, floating options, opacity, typography, text-decoration, padding, border, background image, and many more

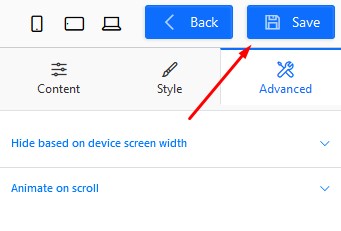
11. There is also an advance option. You will be able to make it responsive by hiding content based on the device screen width

12. You’ll discover an “Animate on scroll” option. You will be able to set the duration and delay of the animation.

13. You can also choose the “Animation type”

14. Your Certificate will look like this

15. Don’t forget to click on the “Save” button
If you have questions while building a certificate, don’t hesitate to reach out to our support