CoDesigner also lets you create a custom footer for your site. In our previous documentation, the steps for creating a header with CoDesigner were demonstrated.
Now, we will see the steps to create an eye-catching footer with CoDesigner –
1. Go to WordPress dashboard and click on “Templates”

2. Press the “Add New” button and select “WCD Footer” on the pop-up screen.
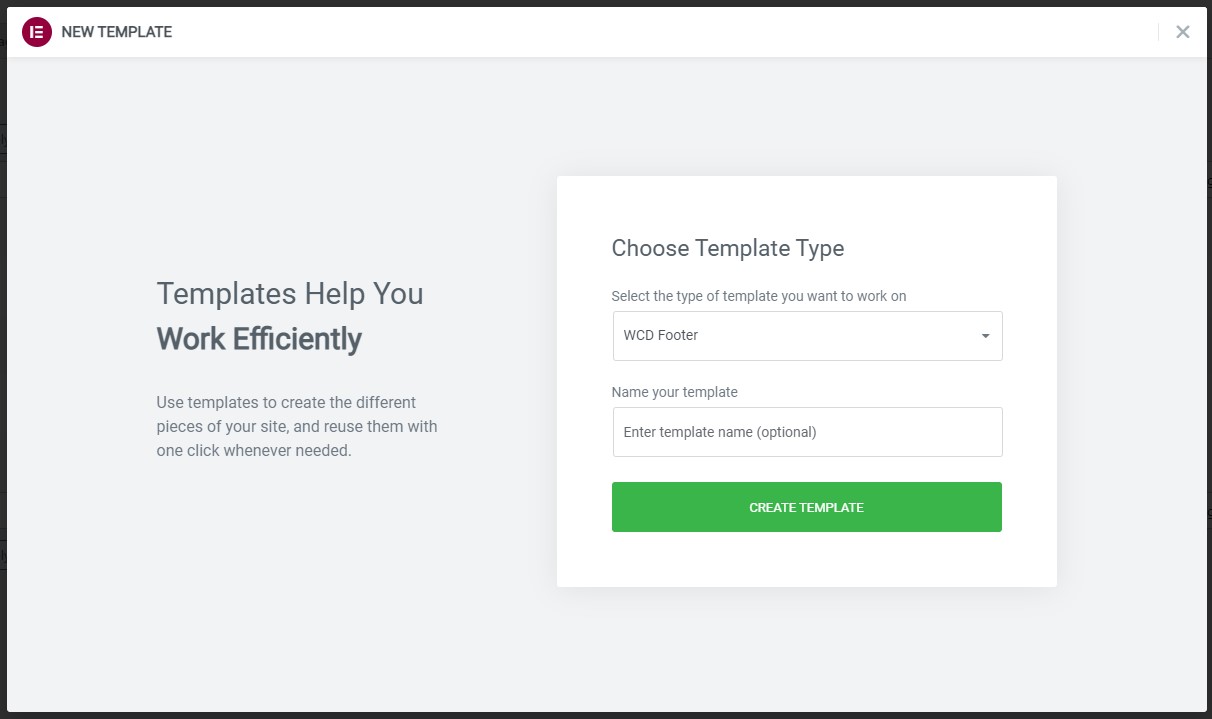
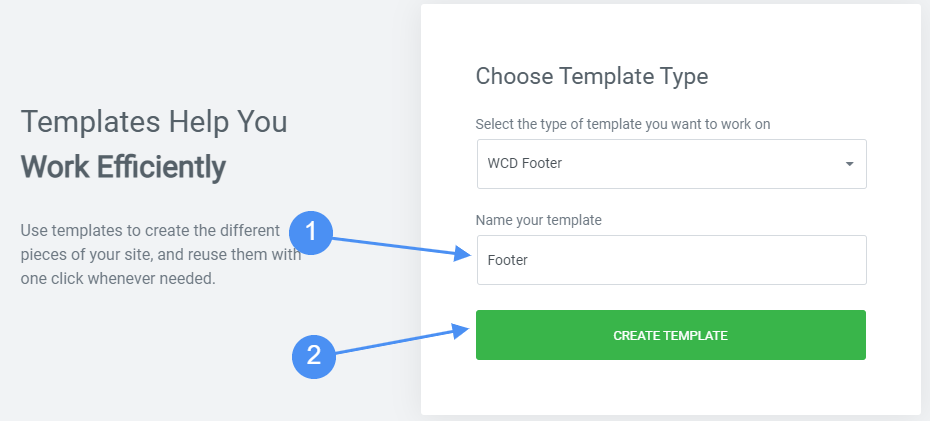
3. Give your template a name and then press the “Create Template” button.
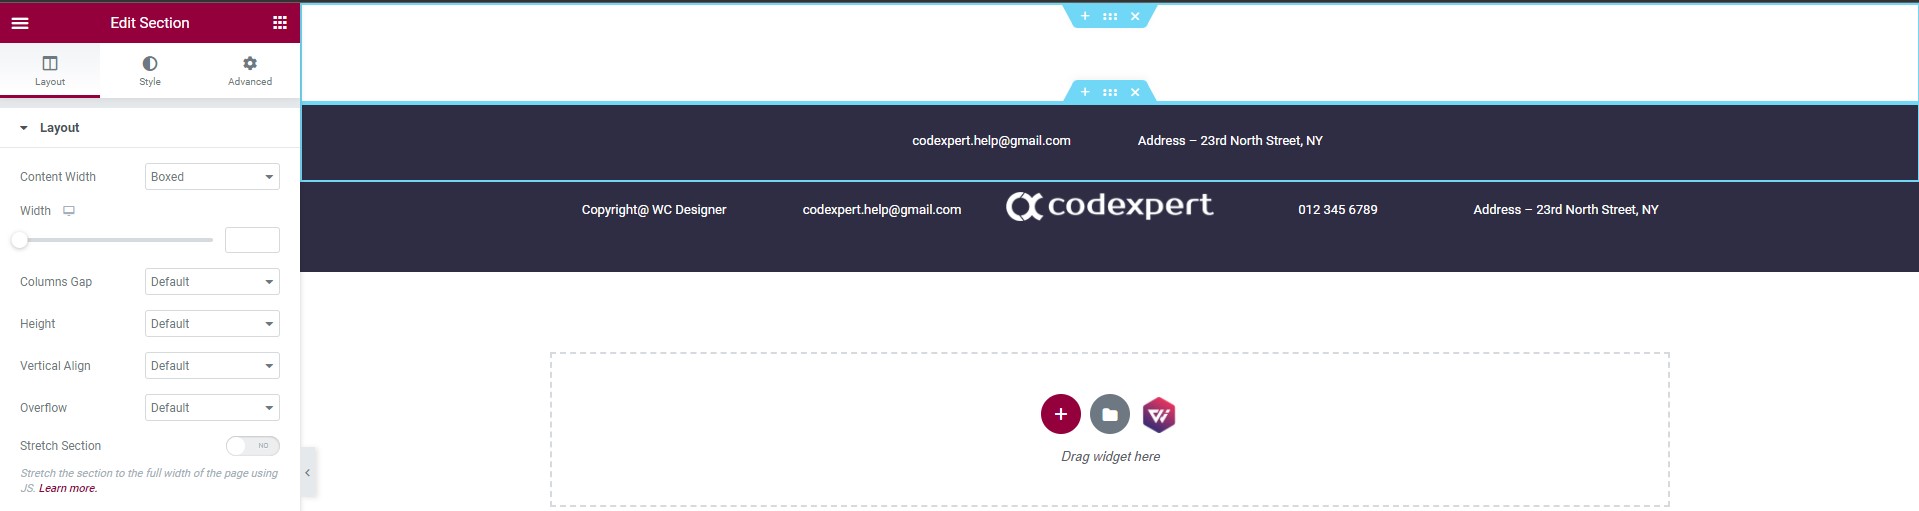
4. After giving a name to your template, you will be automatically redirected to an Elementor editor page. Here You will need to add sections to start creating a new footer. For example, I’m adding 2 sections to the template.

5. Now, I will add 2 columns in the first section and 5 columns in the second section. In the columns of the first section, I have added the demo email and address. In the second section, I added the logo in the middle and 2 demo contents on each side of the logo. You can add your preferred content to create the footer.
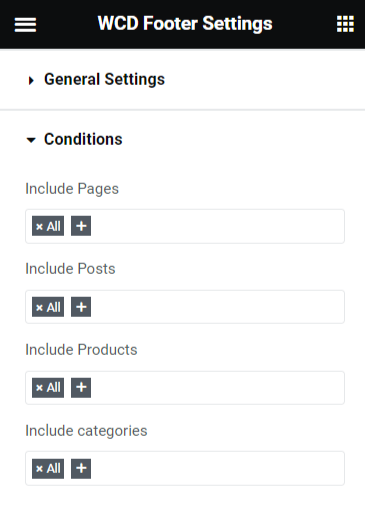
6. After making the changes, I set conditions for the footer to display on all types of pages, posts, and products. You can also make it appear on any particular page, post, product, or category.
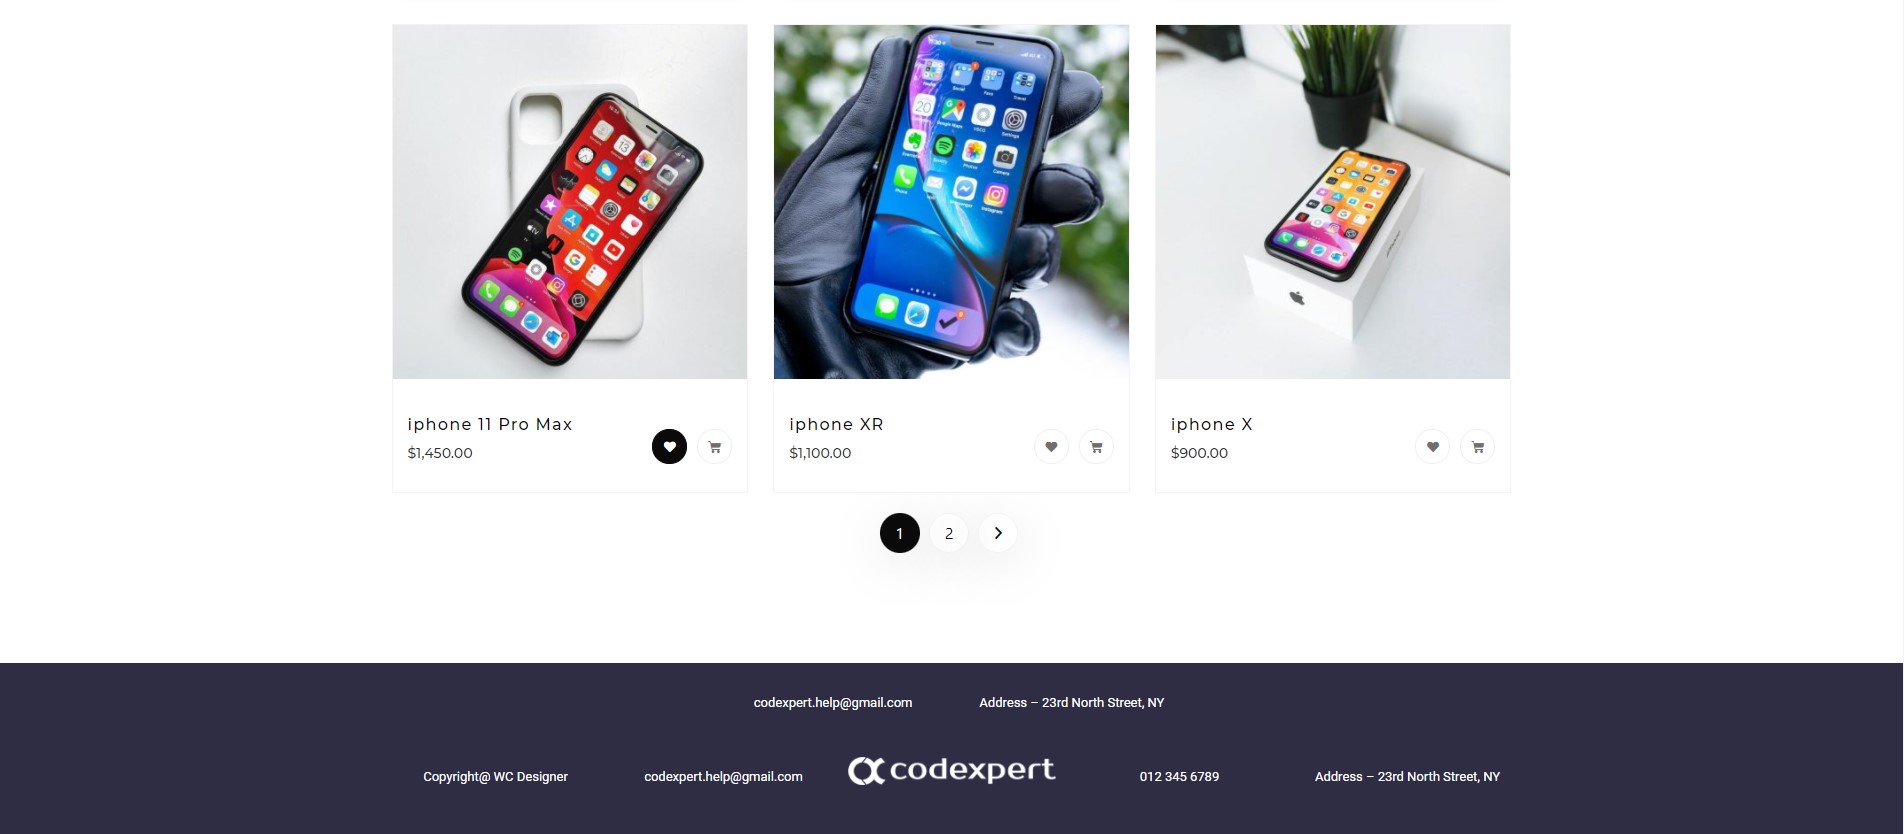
Now, I will publish this new footer and the final outlook of the simple footer is shown in the screenshot below.