Product Brands module of Handy Addons lets you create unlimited product brands and set them to related products. The option to set product brands will appear on the product edit page of WooCoomerce. To create and set product brands follow the steps below –
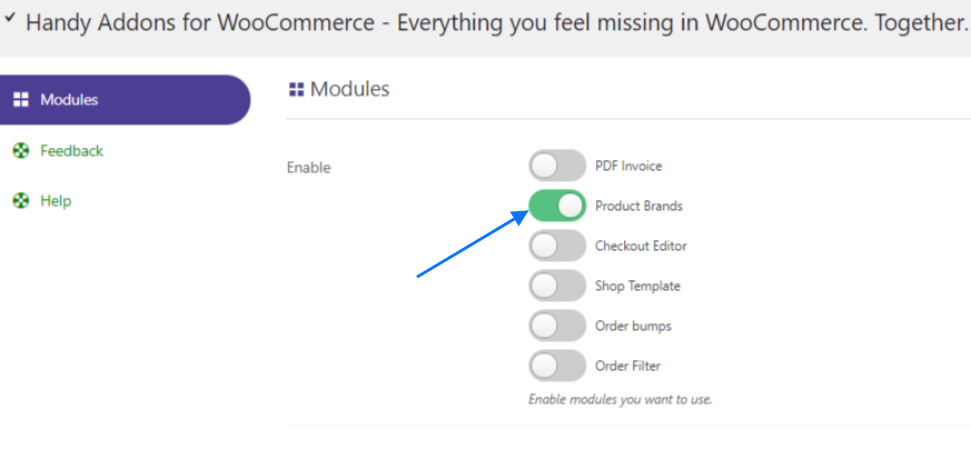
1. Enable the Product Brands module from the Handy Addons dashboard and save the settings.
2. You will see the Product Brands Tab in the Dashboard menu. Click the Product Brands Tab and enable it.

3. On the General Settings – you can change Brands Taxonomy Slug, Show Brands on product table, Allow rest API.

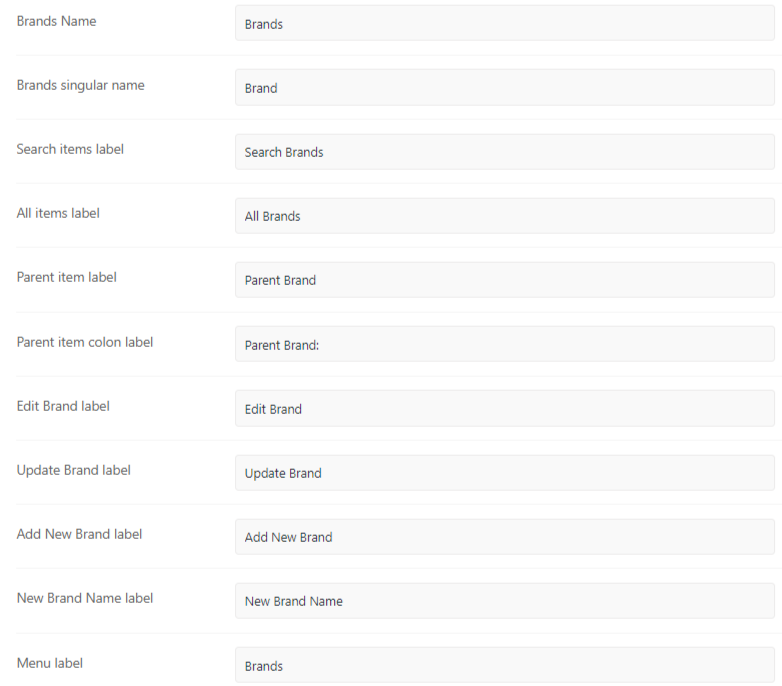
4. Also, you can change Brands Name, Brands singular name, Search items label, All items label, Parent item label, Parent item colon label, Edit Brand label, Update Brand label, Add New Brand label, New Brand Name label, and Menu label
5. In the display settings enable Display on Product Page and Enable Archive Page.

6. Now, click on the products tab under the WooCommerce menu on the dashboard.

7. Choose a product to add a brand for it and click edit.

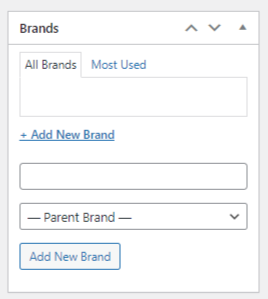
9. Navigate to the right side of the product edit page. There you will see the option to add a new brand to the product.
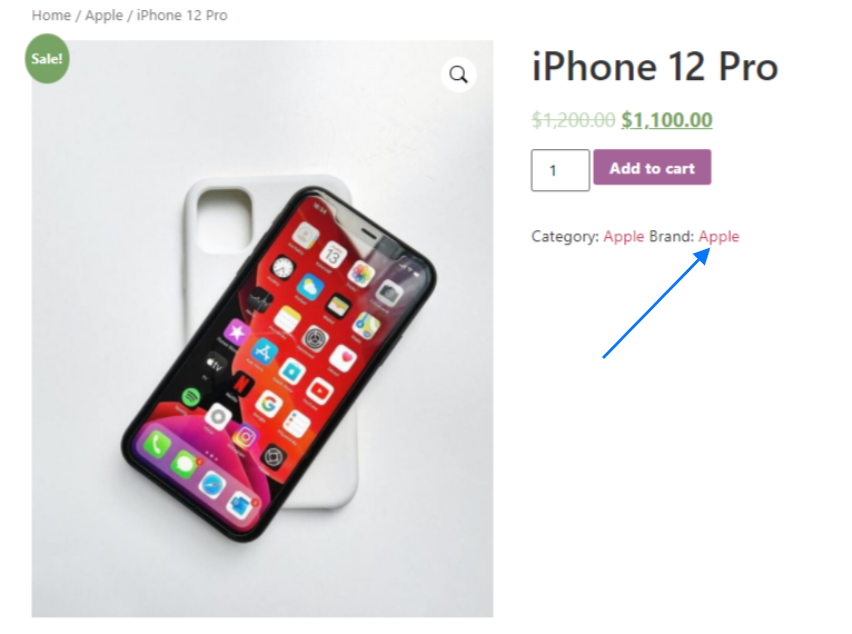
10. After adding the Product Brand, you will see the brand name on the product page as shown in the screenshot below.