Handy Addons let you customize and add new fields on the WooCommerce Checkout page. You can easily add new fields, change the arrangement of the Billing, Order, and Shipping fields.
To use the Checkout Editor Module, you need to follow the steps below –
1. Enable the Checkout Editor Module from the Handy Addons dashboard and save the settings.

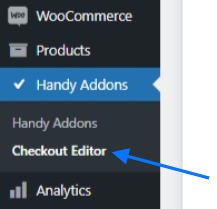
2. Go to the Checkout Editor tab from the WordPress dashboard as shown in the screenshot below
3. You will see 3 rows of the options to edit the Billing, Order, and Shipping fields.
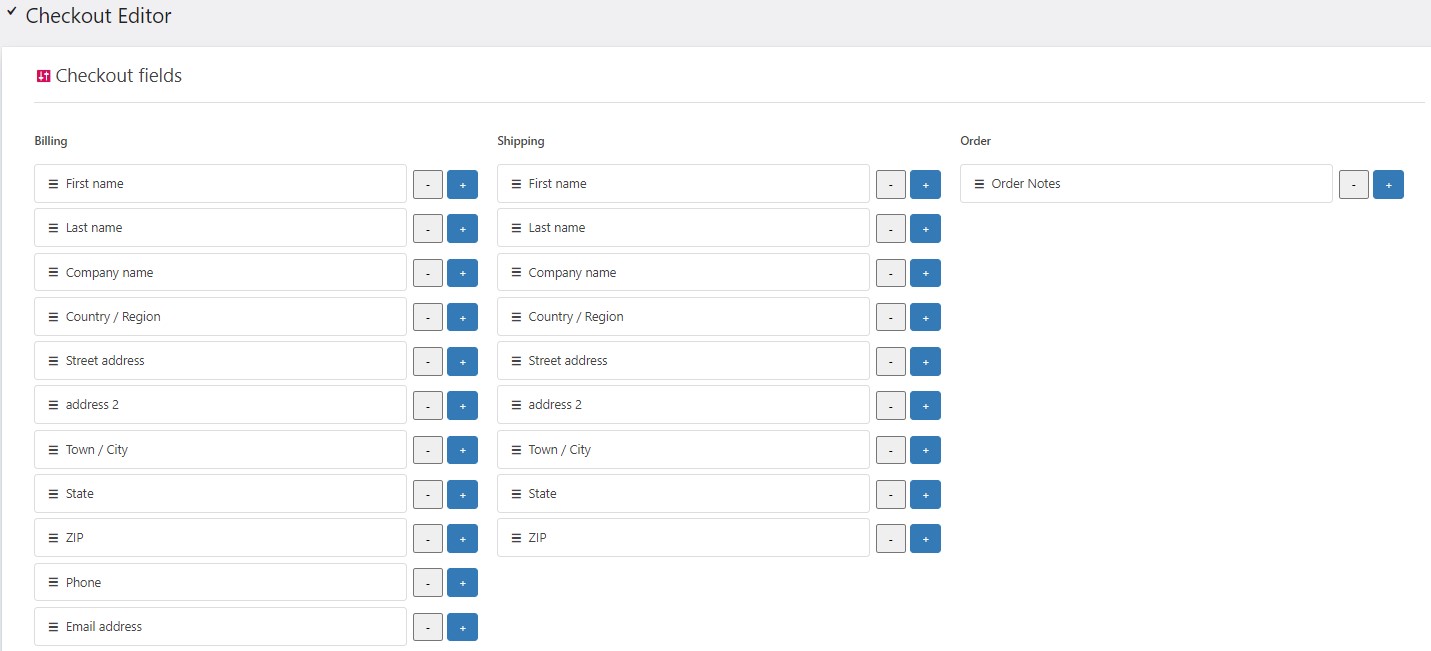
4. You can edit the existing fields – change the fields name, mark it as required, change the class name.

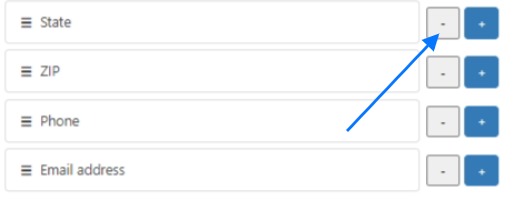
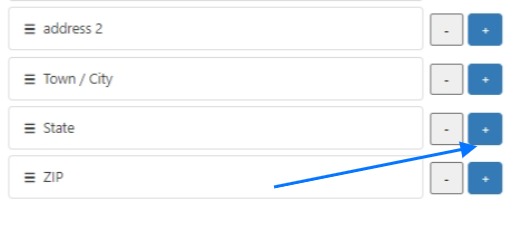
5. Also, you can remove fields by clicking the minus (-) symbol.
6. To add a new field you need to click the plus (+) icon.
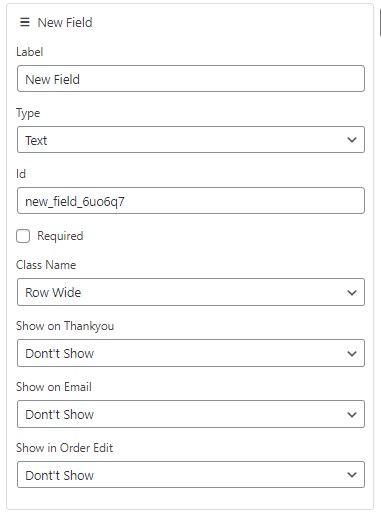
7. On the new fields you can set custom Label, Type, Id, mark it as required, Class name, Show on Thank You, Show on Email, and Show in Order Edit.
8. If you want to show the new field you Thank You, you will have the following options
- Before Thank You,
- Before Order Details,
- After Order Details,
- After All Details.

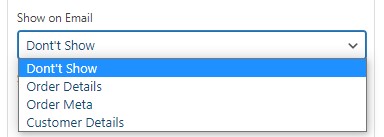
9. For the Show On Email you will see the options
- Order Details,
- Order meta, and
- Customer Details.
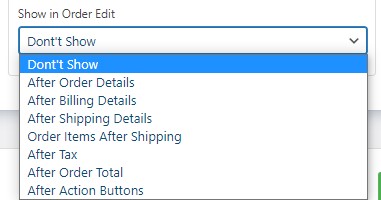
10. To show the new field on the Order Edit page you will have the following options
- After Order Details,
- After Billing Details,
- After Shipping Details,
- Order Items After Shipping,
- After Tax,
- After Order Total,
- After action Buttons
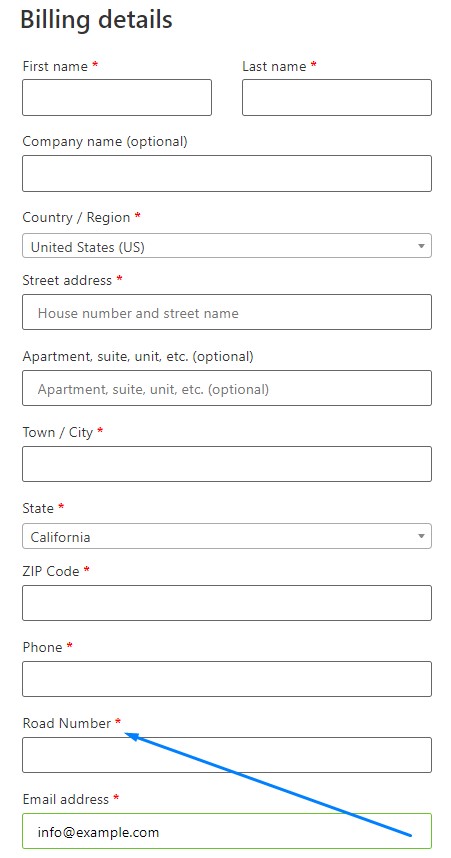
11. After making the changes on the checkout page, save the settings. For example, we have added a new field on the Billing section called – Road Number, marked it as required, and here’s how it looks on the checkout page.