How do I set up a My Account page on my website using My Account Advanced?
Making a personalized WooCommerce My Account page is a simple process with CoDesigner and Elementor. You don’t need any coding skills, follow the steps below to get your custom My Account page up and running.
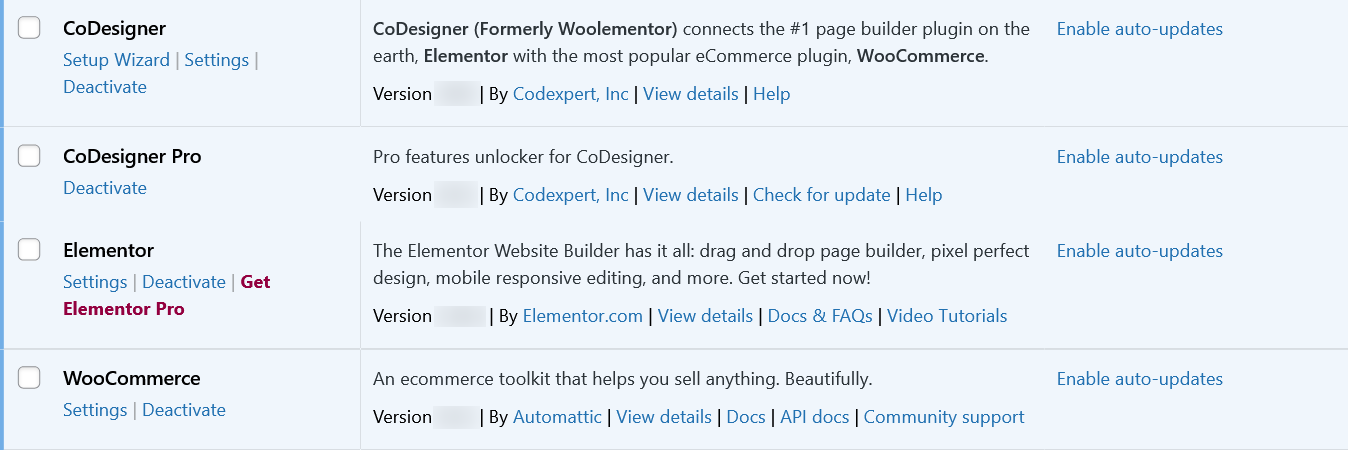
Step 1: Make sure you have the following WordPress plugins installed on your site –
- WooCommerce
- Elementor
- CoDesigner
- CoDesigner Pro
Step 2: You’ll need the Pro version of CoDesigner to access the My Account Advanced widget. To do this, Visit CoDesigner and choose a plan to purchase it.
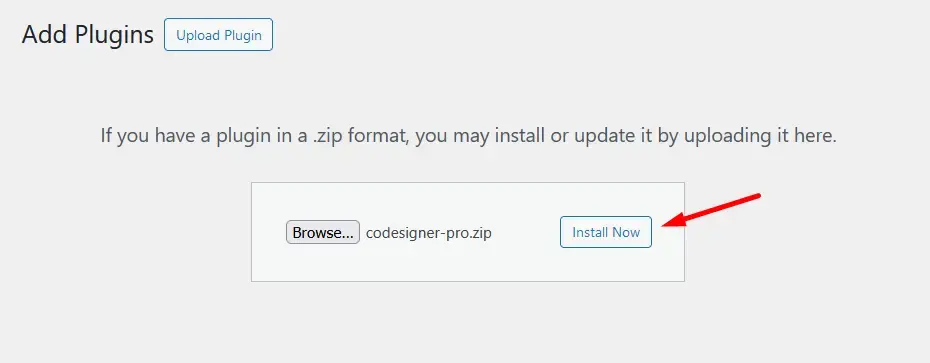
Step 3: If you don’t have an account to purchase the pro version, it’s easy to create one. Enter your email address, choose your first name, the last name, and create a secure password and payment information. That’s all you need to have the pro version. After that, Install the CoDesigner Pro in your website.
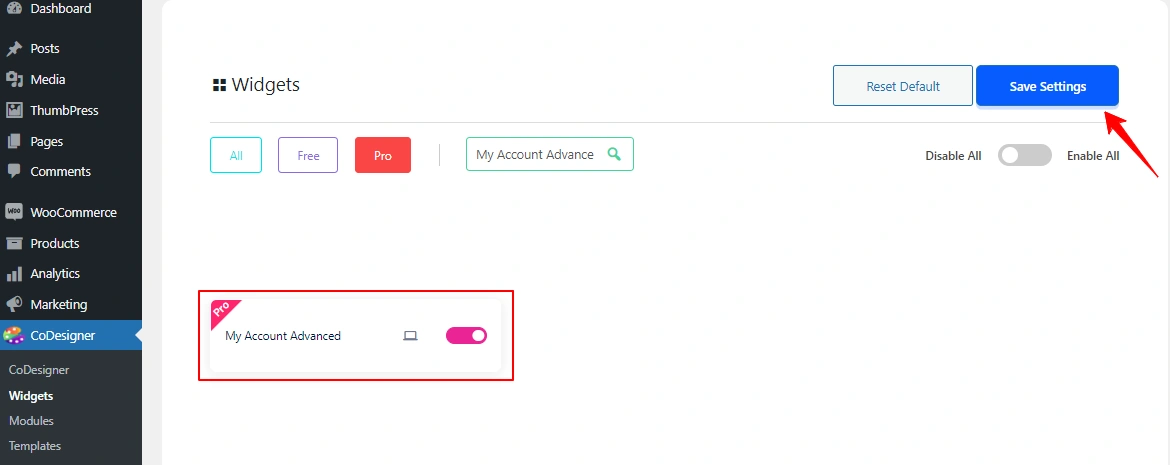
Step 2: Go to the Widgets section from CoDesigner , enable the ‘My Account Advanced‘ widget, and click on Save Settings.
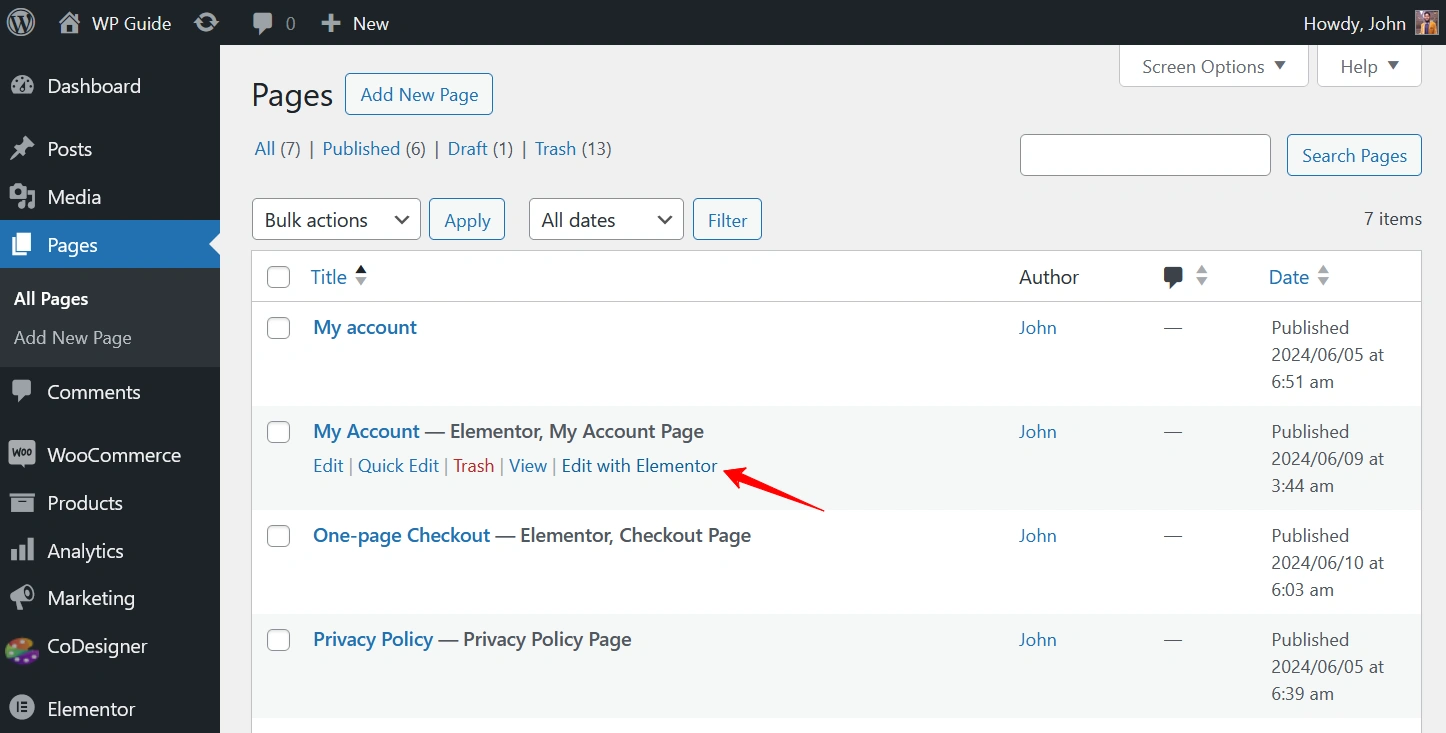
Step 3: Once you delete the WooCommerce My Account shortcode, create a new My Account page or edit the existing My Account page. Go to Pages from your site dashboard and Click on ‘Edit with Elementor’ the My Account page.
Step 5: Search for the My Account Advance widget in the ‘Search’ bar under the ‘Elements’ tab. Then simply drag and drop the widget in a new section of the page. Make sure to enable the Widgets from The CoDesigner.
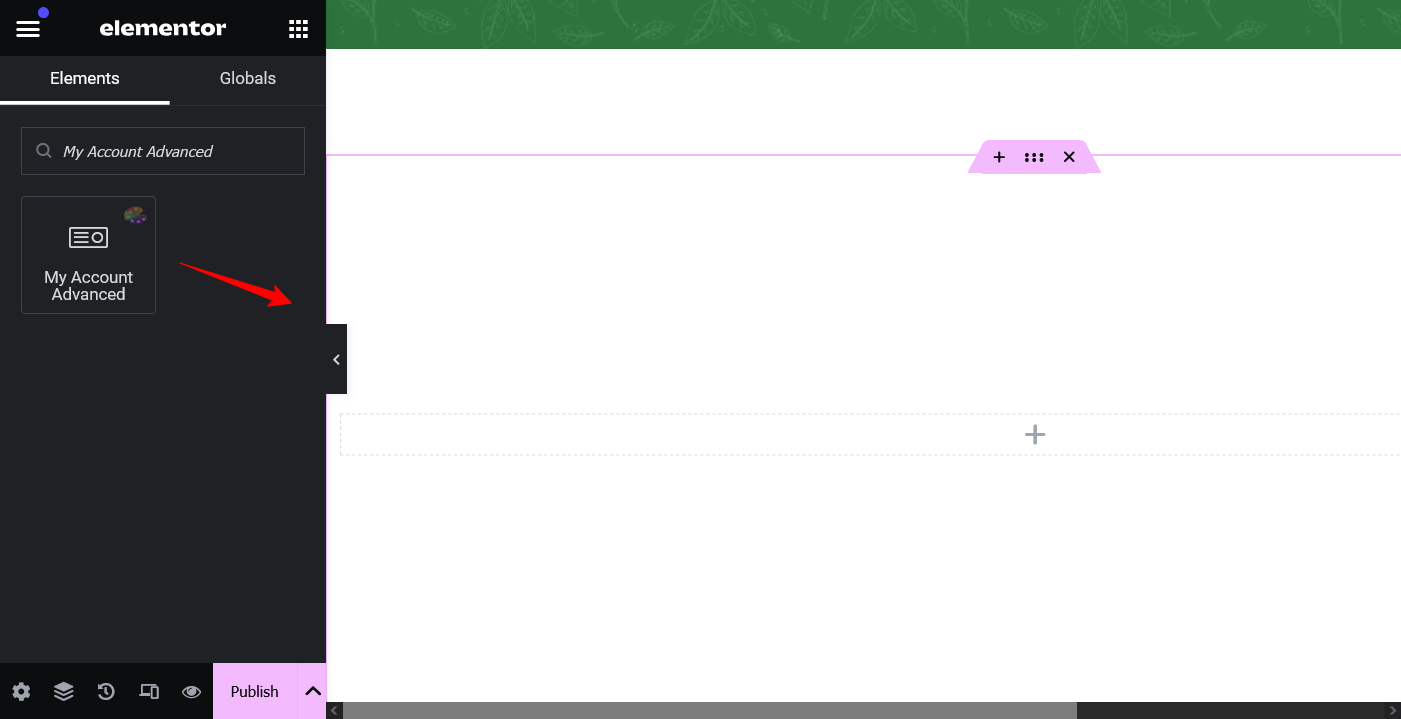
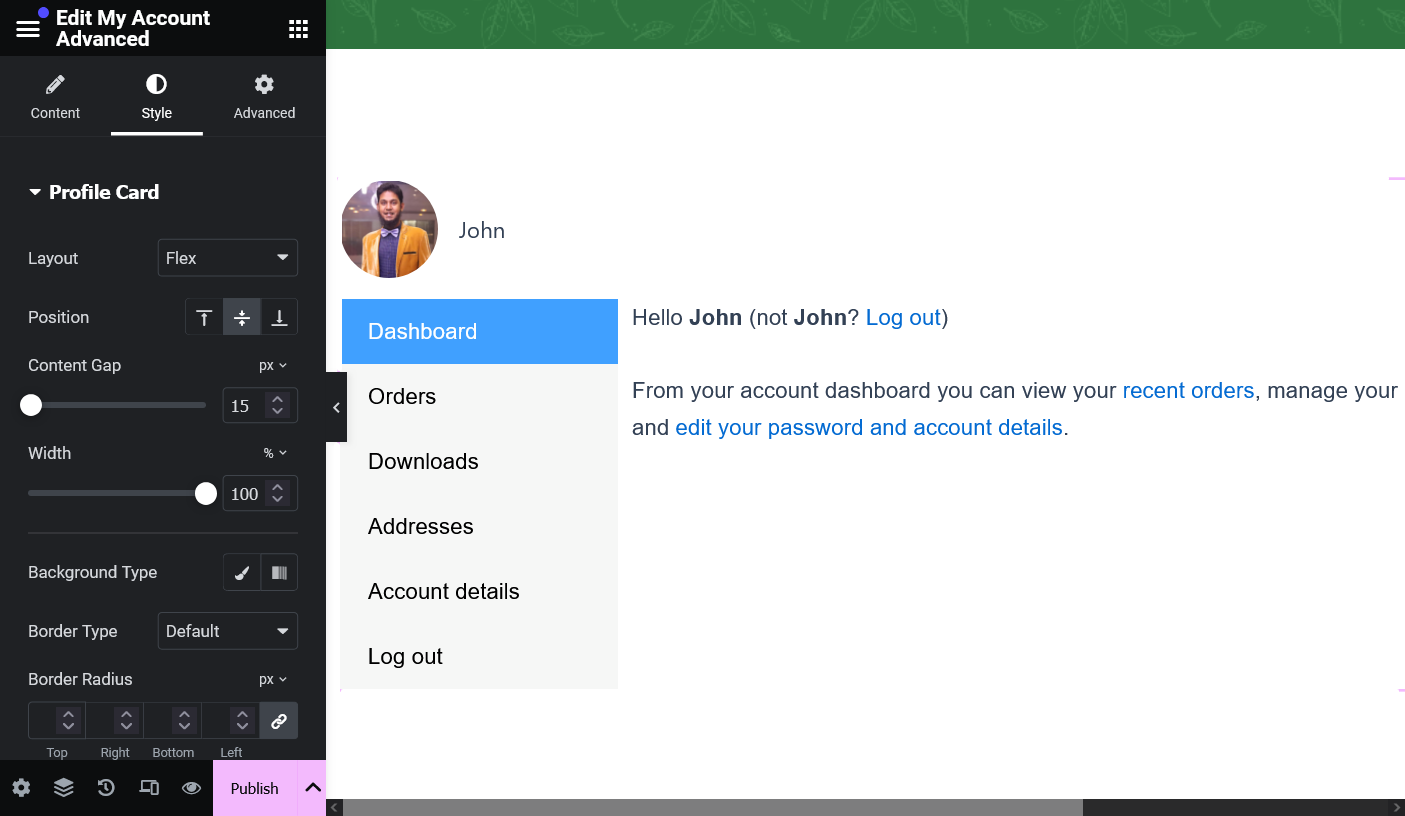
Step 6: From your editor, set the configuration for your content section.
Step 7: You’ll get many options to design your desired account page. Like you can change Tab Position, Typography, Text Color Type, Background Type, Margin, Padding, Border Type, and Border Radius. When you’re done, Click on the Publish button. Now Your My Account page is ready to set as default.
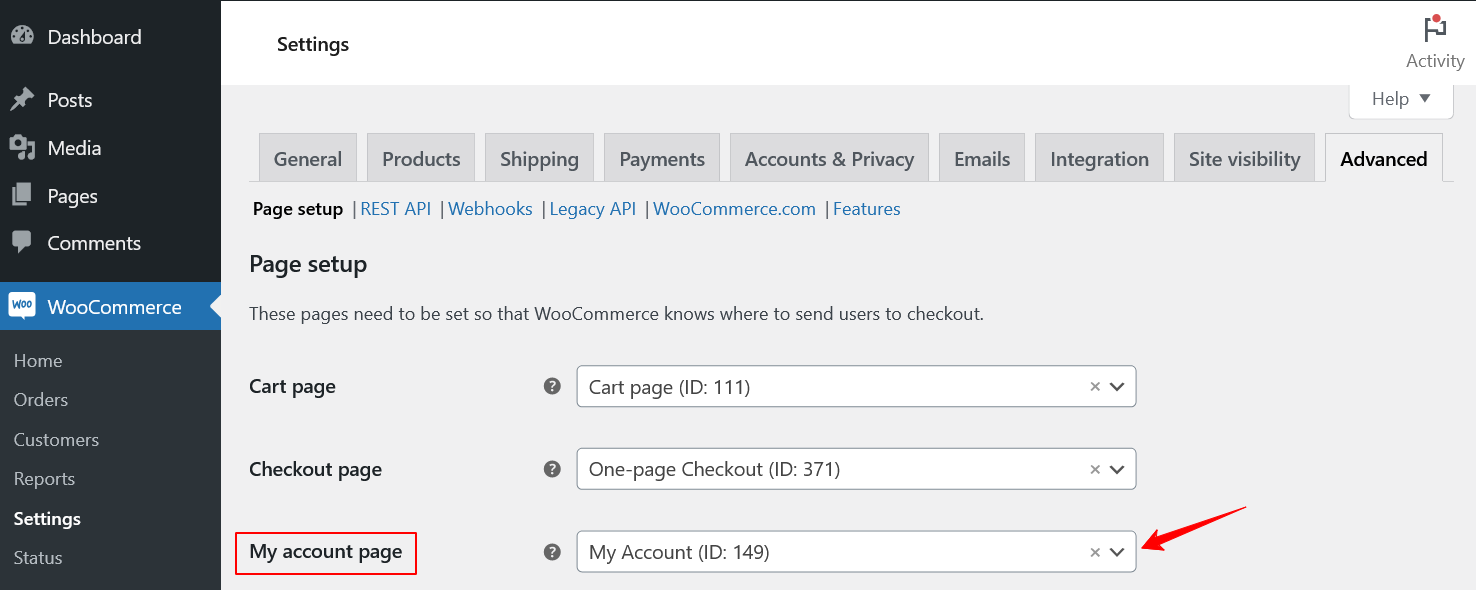
Step 8: Head towards the WooCommerce > Advanced and Set the newly designed My Account page as default.
Was this doc helpful?


