How do I create a single product page for my WooCommerce shop?
If you’re building a WooCommerce store, a single product page is the most crucial part of it. Here is the step by step guide to add single product page in your WooCommerce store:
Step 1: Install and activate the CoDesigner plugin by navigating to Plugins > Add New.
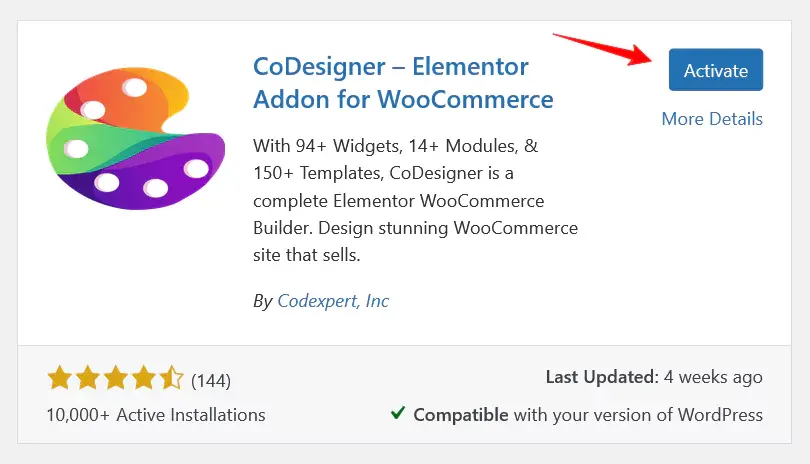
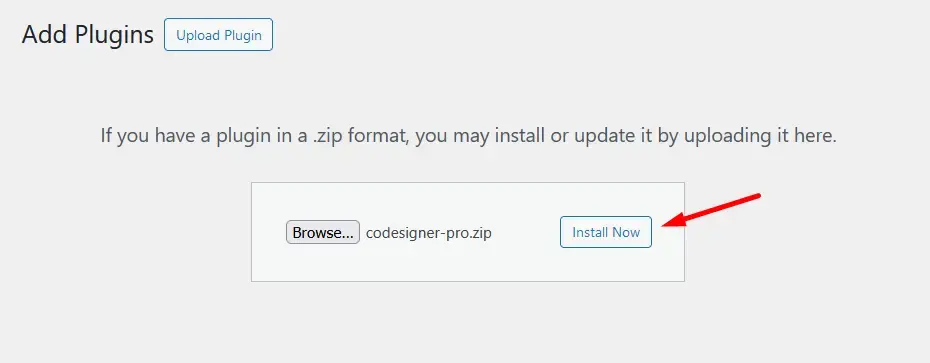
Step 2: You’ll need the Pro version of CoDesigner to access some of the Single product widgets. To do this, Visit CoDesigner and choose a plan to purchase it.
Step 3: If you don’t have an account to purchase the pro version, it’s easy to create one. Enter your email address, choose your first name, the last name, and create a secure password and payment information. That’s all you need to have the pro version. Install and activate the CoDesigner Pro on your site.
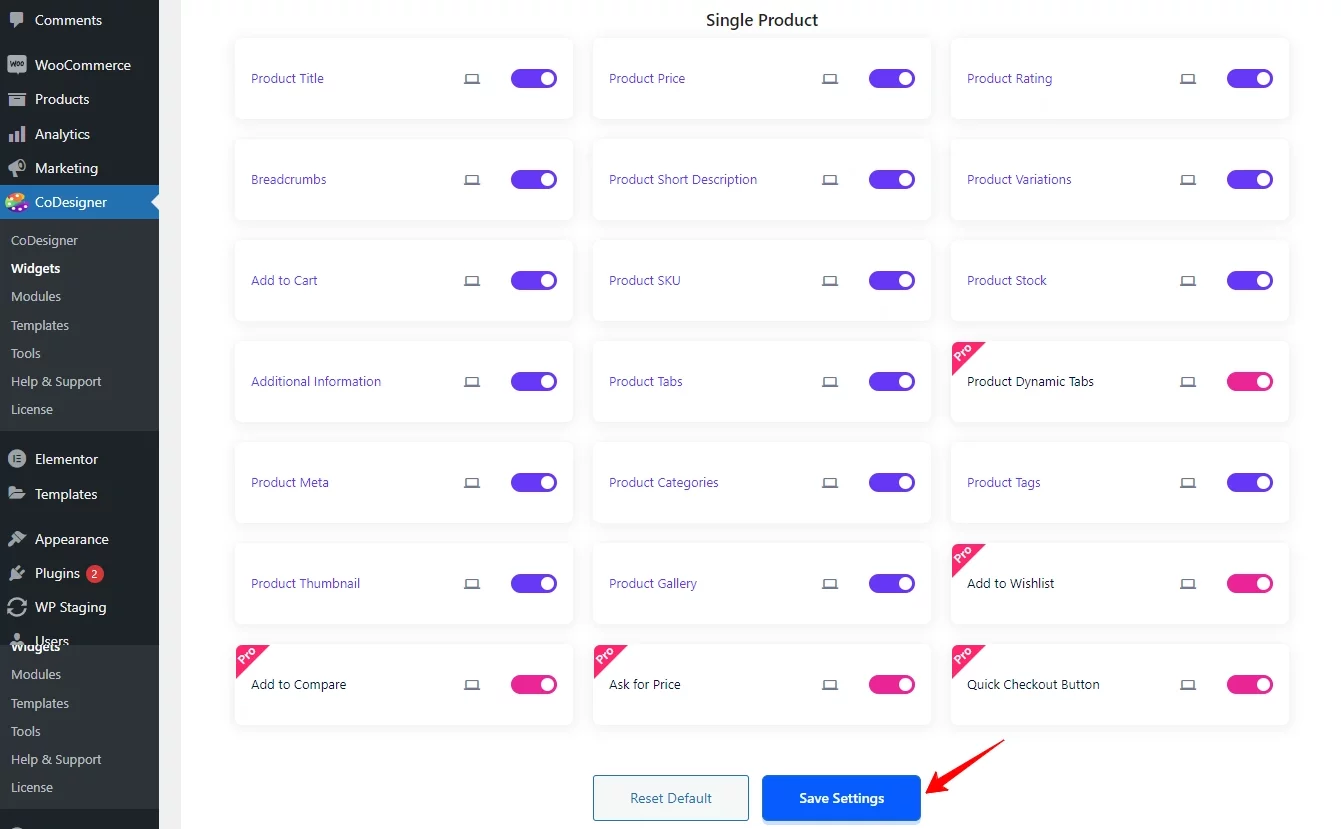
Step 4: After activating the CoDesigner Pro License, Go to CoDesigner > Widgets and enable the Single Product widgets. Then, click the Save Settings button.
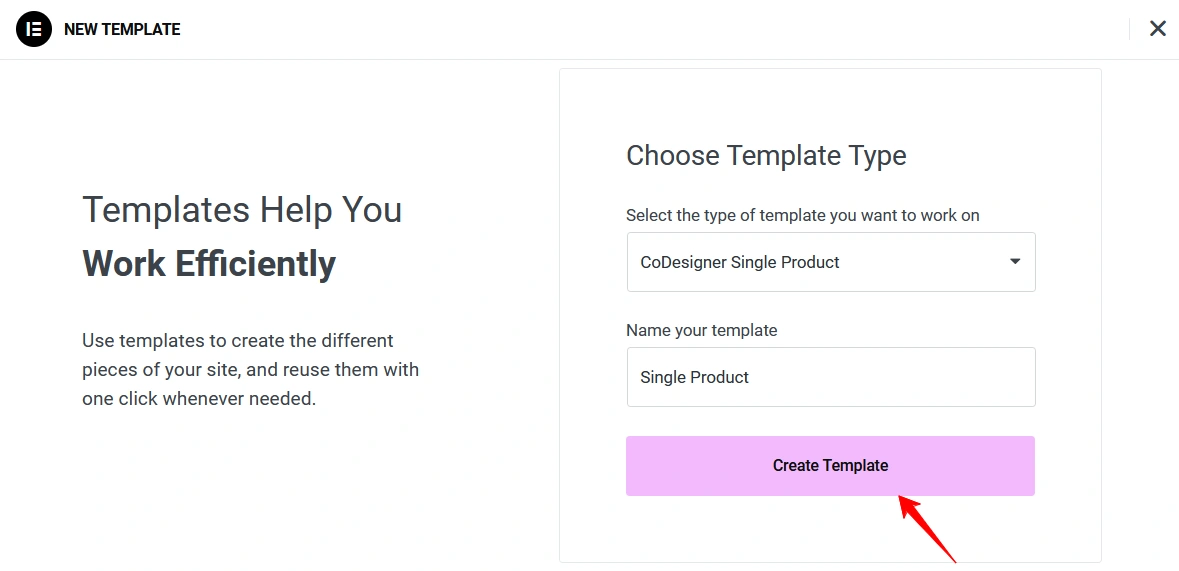
Step 5: Now Go to the Templates and select CoDesigner Single Product. After that, Provide a name to your template and click on Create Template.
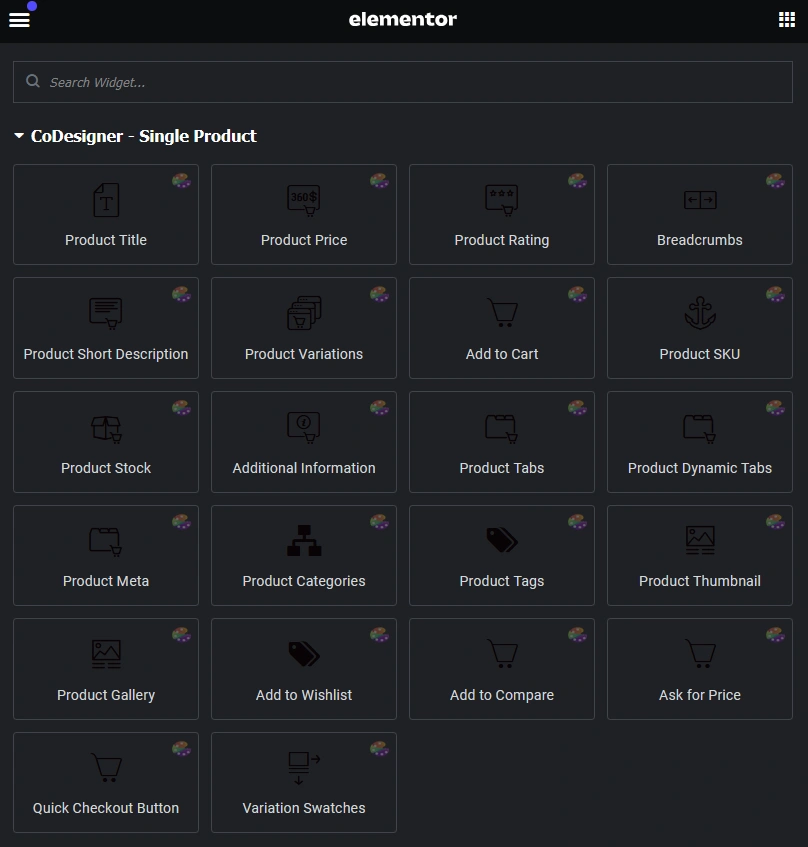
Step 6: From the editor search bar, search for the single product widgets and drag them one by one according to the design.
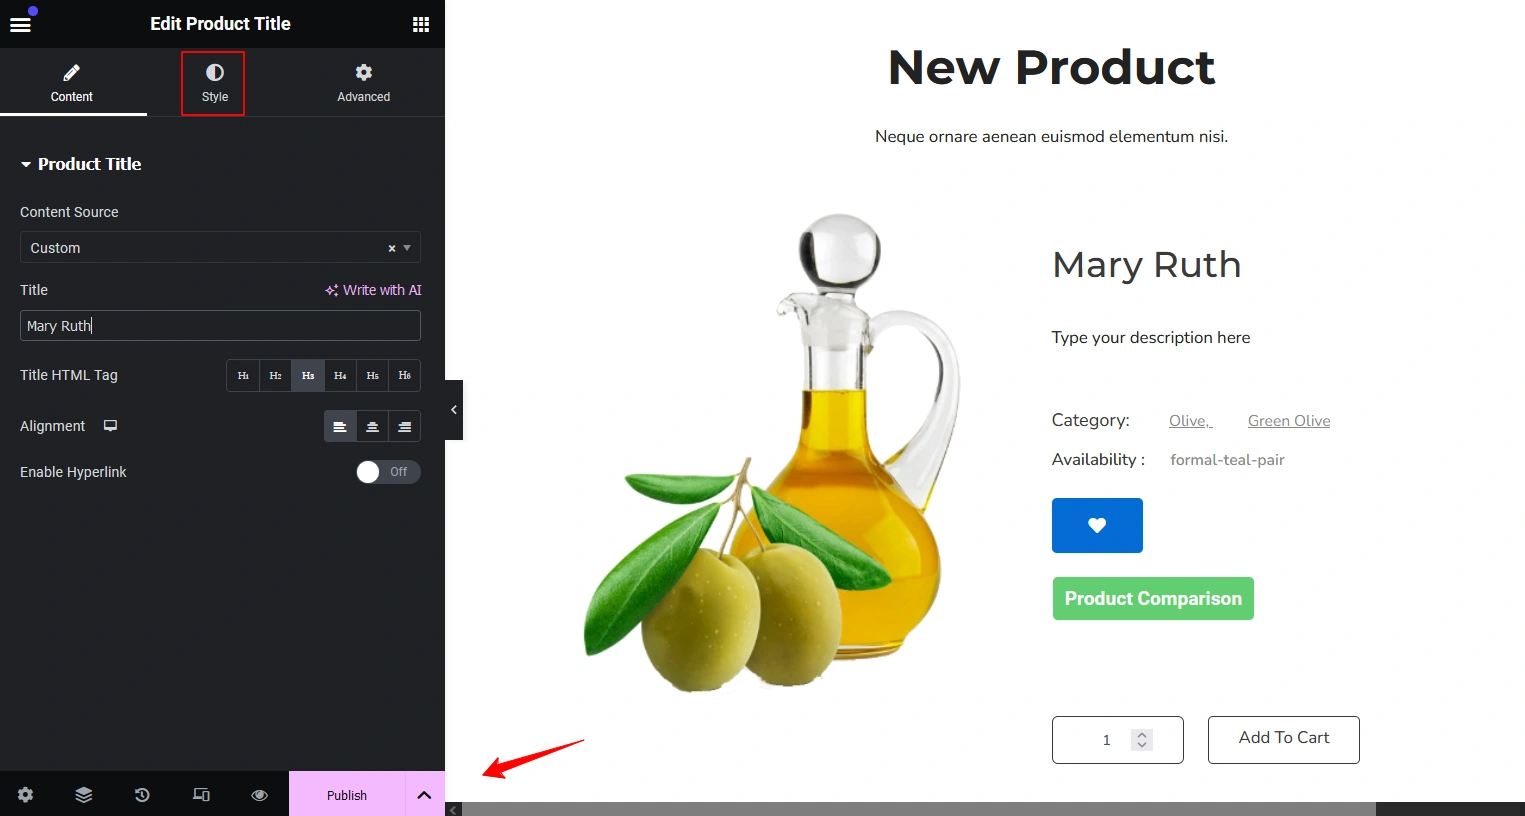
Step 7: Select each of your widget sections to add styles in the single product page section. Like You can add styles to your short descriptions, text colors, and typography, and change the alignment. There are many options available to customize the single product page.
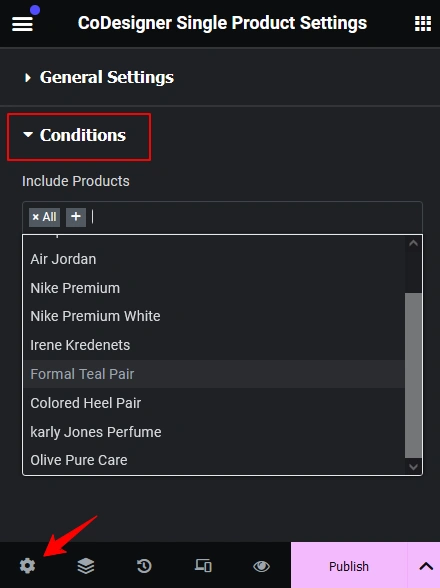
Step 8: When you complete adding styles to your single product page, click on the settings below from the editor to set conditions. Set the conditions where you want to add this template. If you want this template in your Shop page products then set the condition to All. You can set this template to a particular product as well. Finally, click on the Publish button to save the changes you already made.
Was this doc helpful?

