How do I add related products using the Related Products Trendy widgets?
The Related Products Trendy widget allows you to display selected products on your cart page or single product page, placing them exactly where you want. Follow these steps to add related products:
Step 1: Install the CoDesigner plugin by navigating to Plugins > Add New.
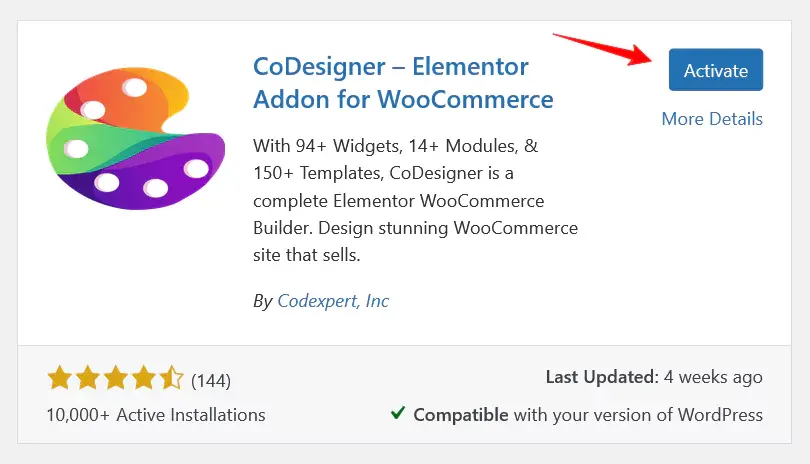
Step 2: You’ll need the Pro version of CoDesigner to access the Related Products Trendy widget. To do this, Visit CoDesigner and choose a plan to purchase it
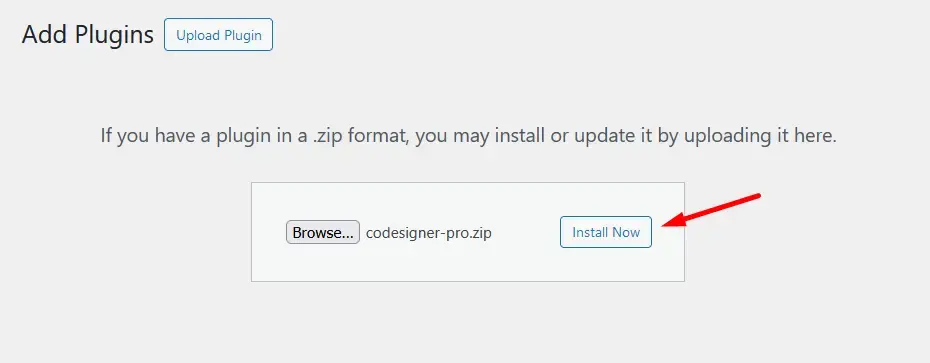
Step 3: If you don’t have an account to purchase the pro version, it’s easy to create one. Enter your email address, choose your first name, the last name, and create a secure password and payment information. That’s all you need to have the pro version. Install and activate the pro version on your website.
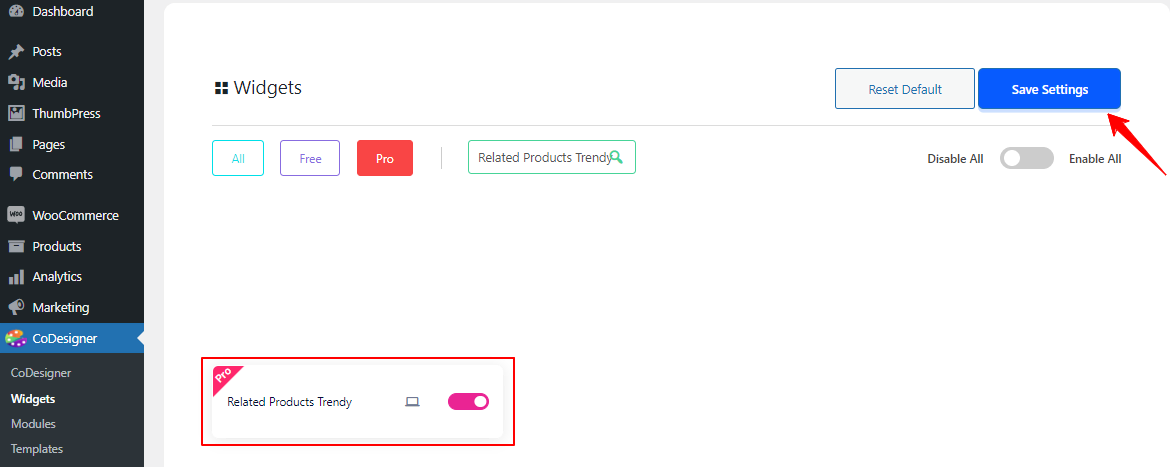
Step 4: Go to CoDesigner > Widgets and enable the Related Products Trendy widget. Then, click the Save Settings button.
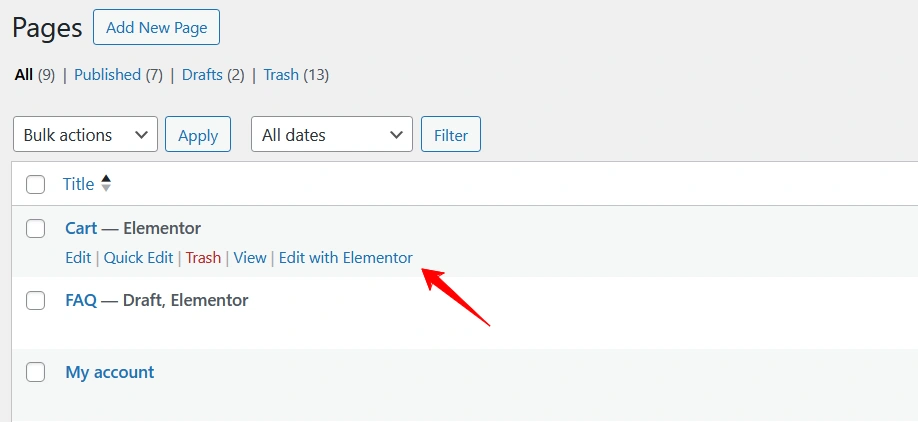
Step 5: Go to the page where you want to add the Related Products Trendy section and open it with Elementor.
Step 6: In the Elementor editor, search for the Related Products Trendy widget and drag it into a new section.

Step 7: If you see a No Related Product Found! message, adjust the configuration settings accordingly. After customizing the widget, click the Publish button.
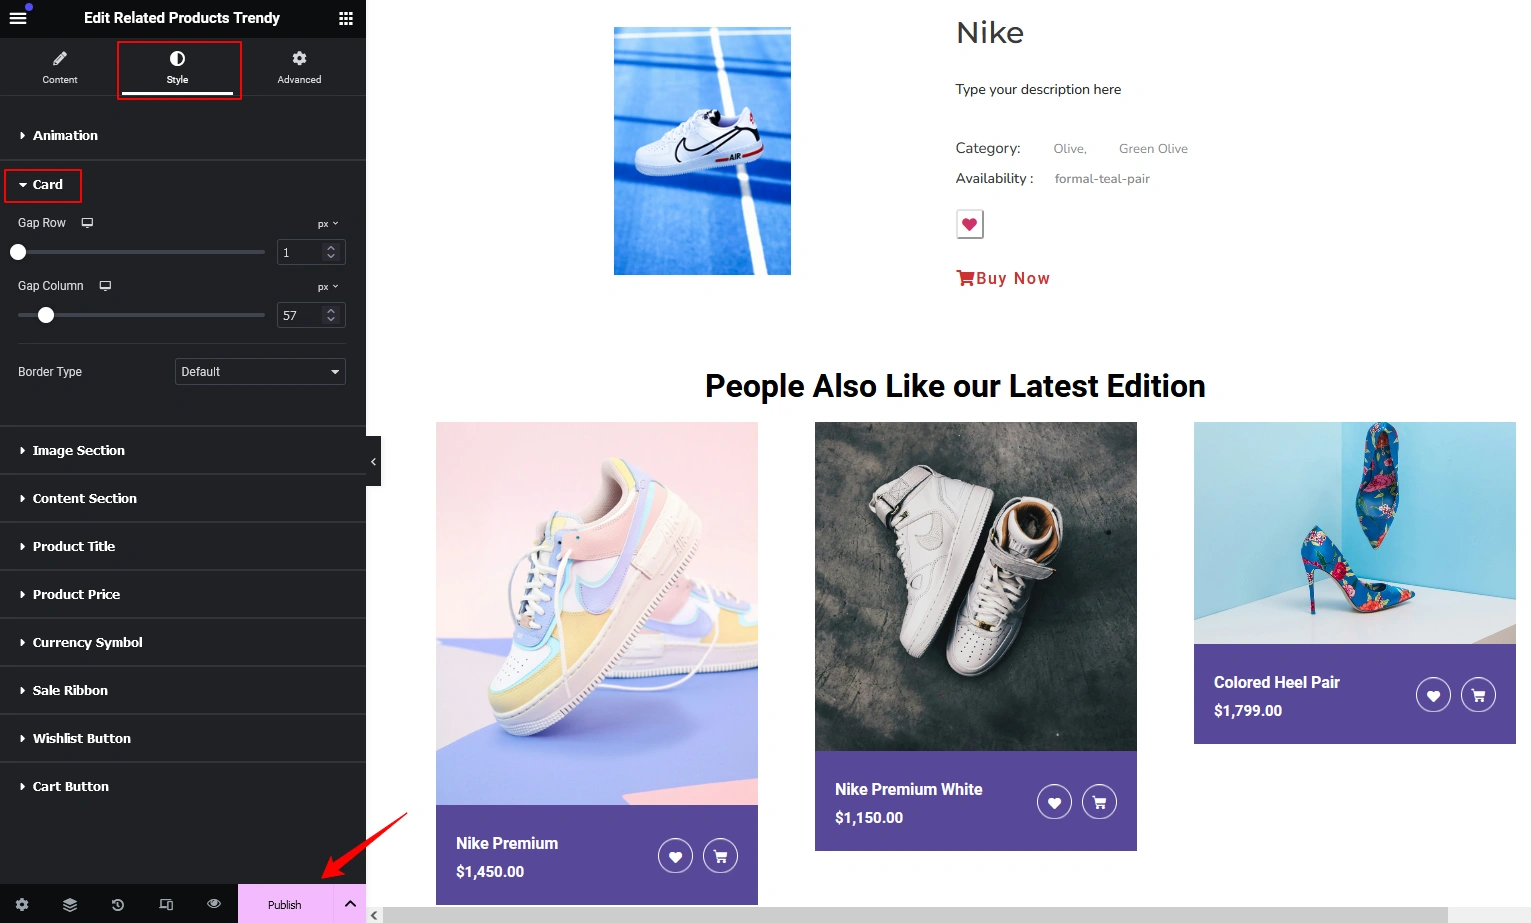
And that’s it! Your Related Products section is now live. If any help is needed feel free to reach out to our support.
Was this doc helpful?

