How do I add related products using the Related Products Standard widgets?
The Related Products Standard widget allows you to display selected products on your cart page or single product page, placing them exactly where you want. Follow these steps to add related products:
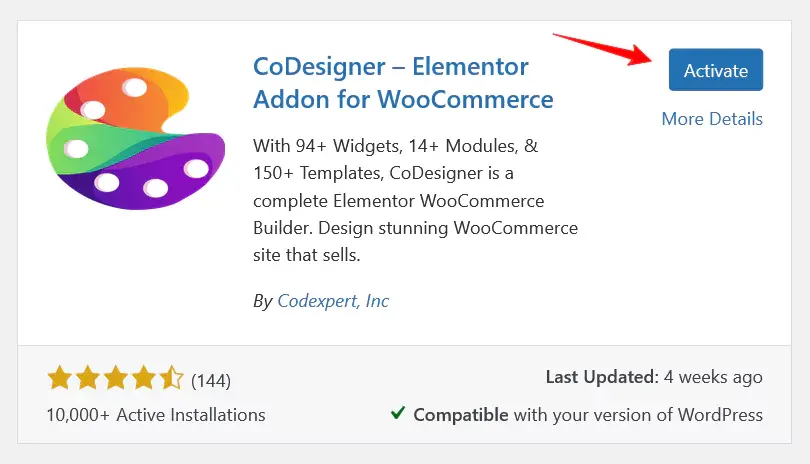
Step 1: Install the CoDesigner plugin by navigating to Plugins > Add New.
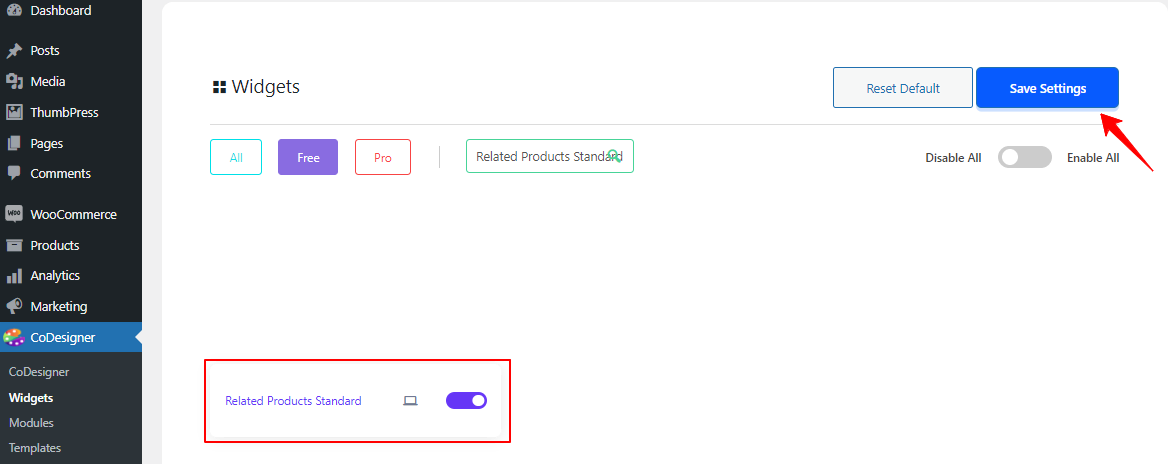
Step 2: Go to CoDesigner > Widgets and enable the Related Products Standard widget. Then, click the Save Settings button.
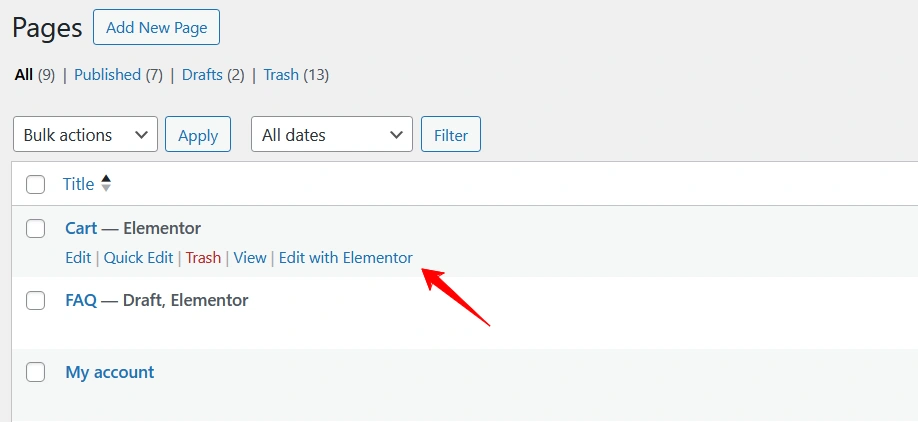
Step 3: Go to the page where you want to add the Related Products Standard section and open it with Elementor.
Step 4: In the Elementor editor, search for the Related Products Standard widget and drag it into a new section.

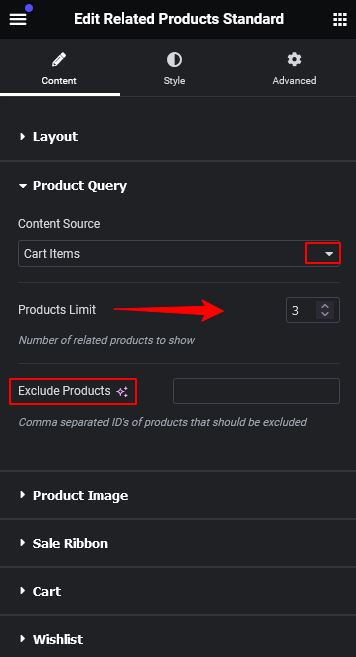
Step 5: You’ll find the Product Query option in your editor Content section, which allows you to manage the content source for displaying related products. You can choose from options like Current Product, Cart Items, or Custom. There’s also an option called Products Limit, where you can specify the number of related products you want to display. There is a Layout option that allows you to manage the number of columns and the alignment of the content. You can select how many columns you want to display for your product, and choose whether the alignment should be on the left or right. You can also adjust the Product Image, Sale Ribbon, Cart, Wishlist from the content section.
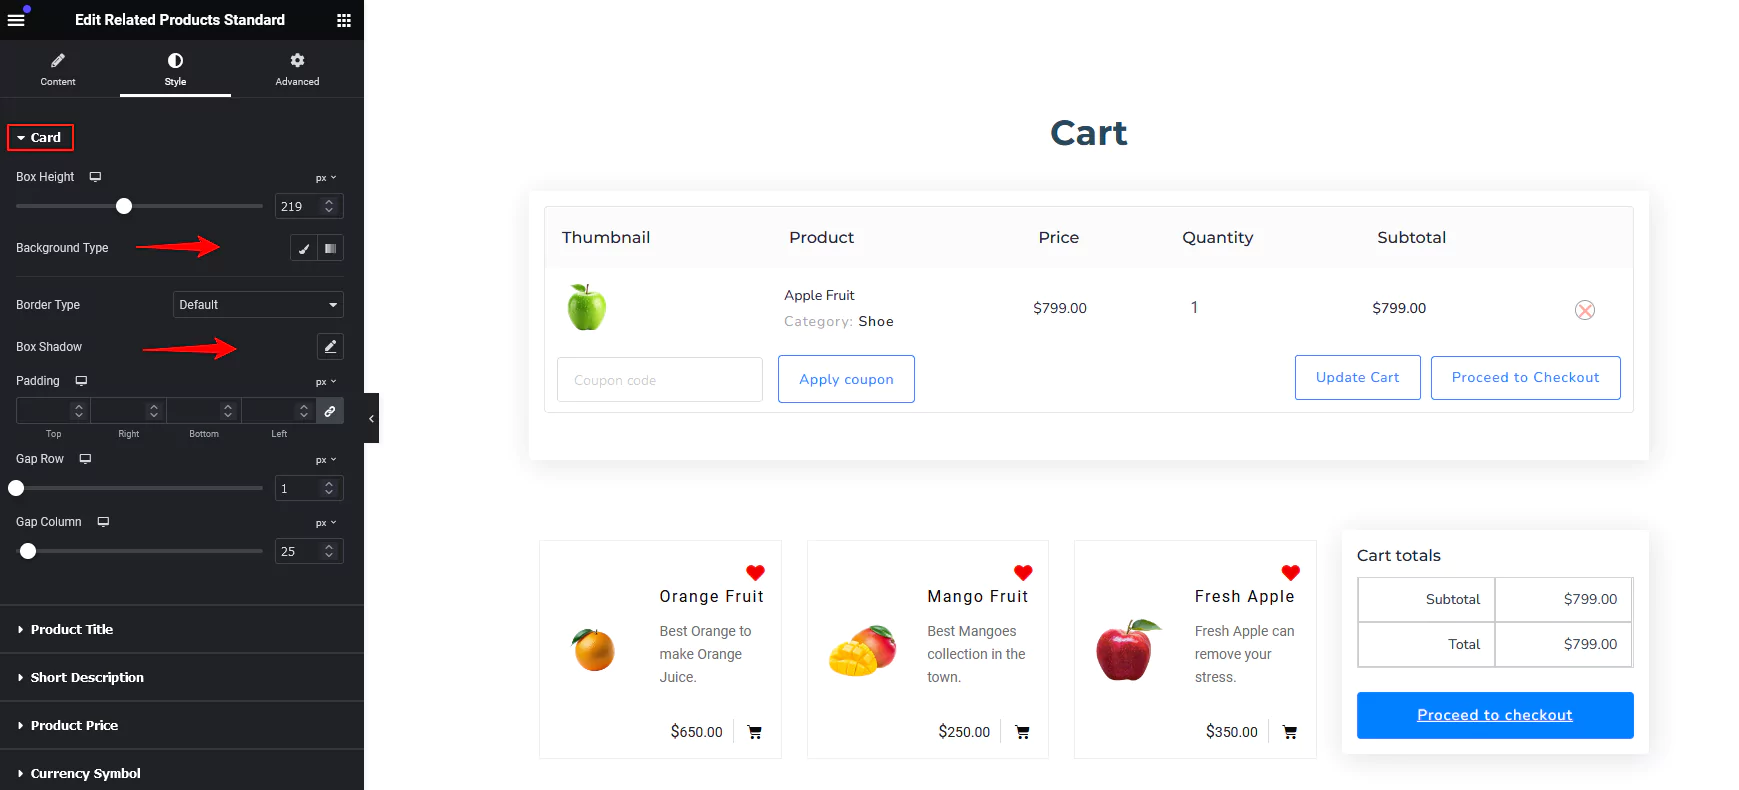
Step 6: Customize your related products page based on your preferences from the Style tab. Related Products standard widget offers various design options. You can customize the product card’s height, Box Shadow, and background as well as the gaps between rows and columns.
Step 7: You can modify the basic style elements such as Text color type and Typography to the product price, Product title, and Short description. You can also customize the Product image’s height, width, border, etc. To enhance the appearance of your product’s image.
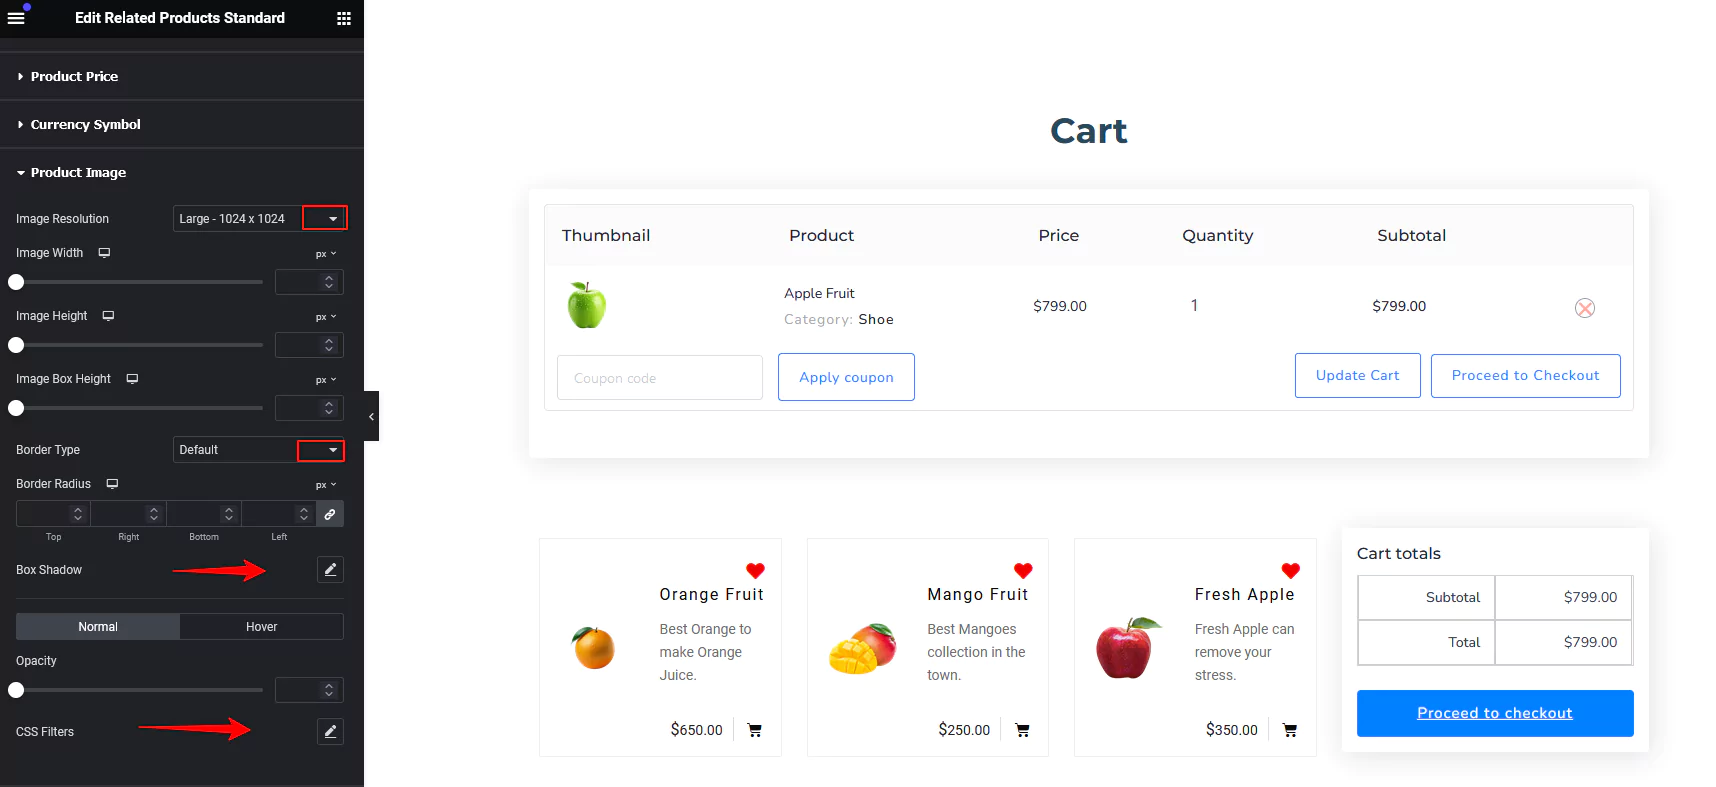
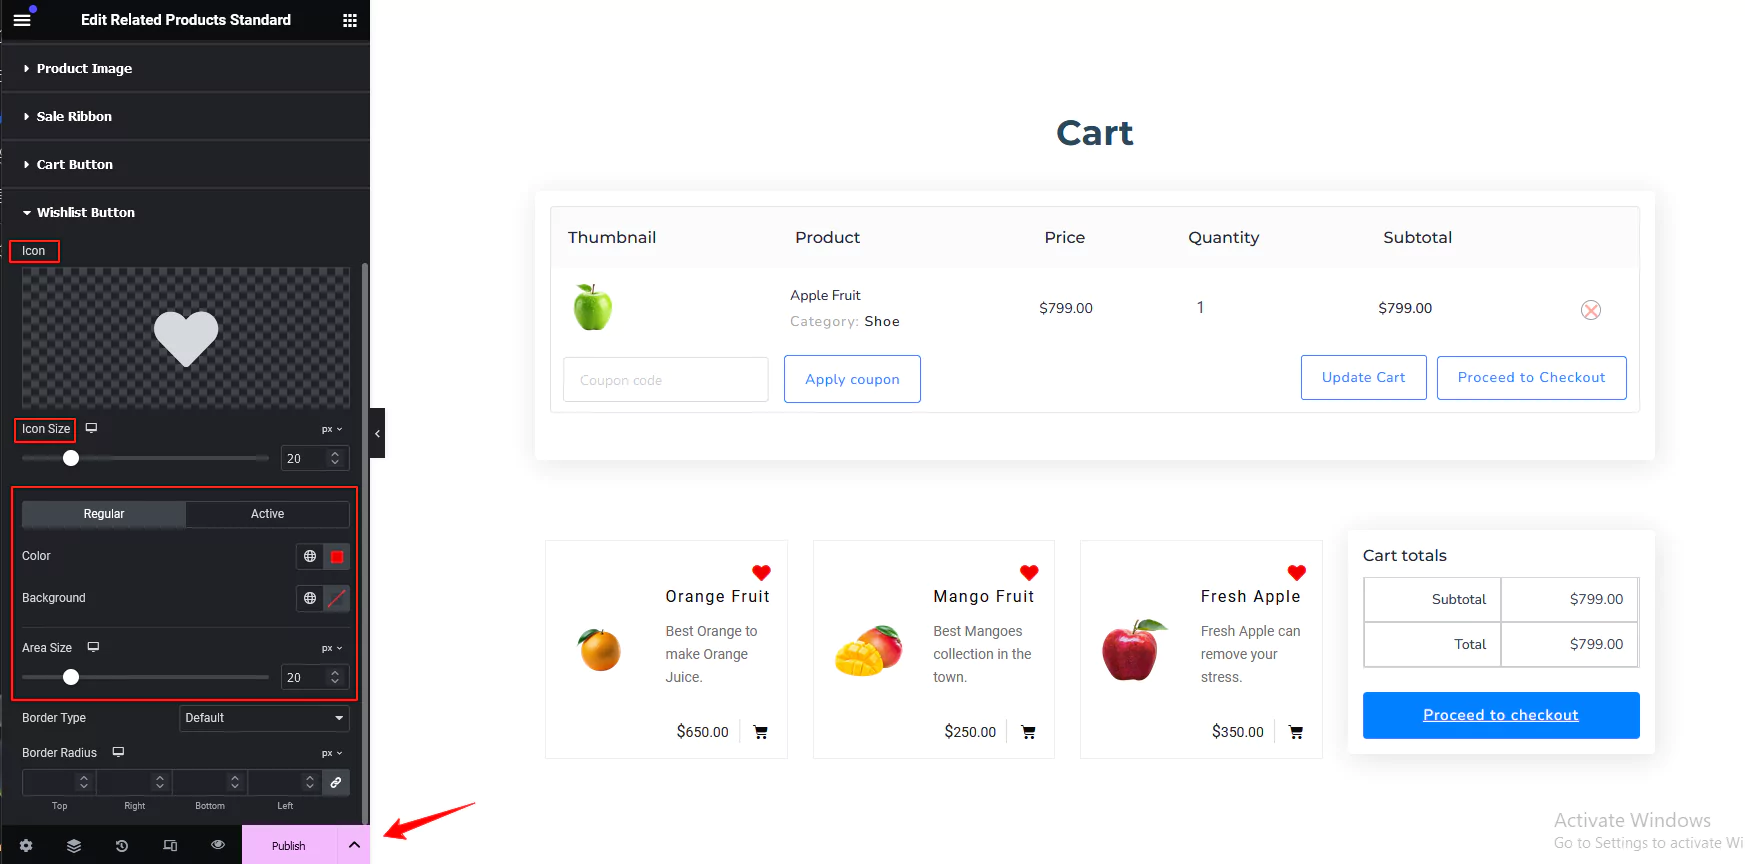
Step 8: For the Cart Button on your related product page, you may apply design changes like Icon size, Color of the icon, Border, Background, Area size, etc. Similarly, you can personalize the Wishlist button using the same options. After customization is done, click on the Publish or Update button.
And that’s it! Your Related Products section is now live. If any help is needed feel free to reach out to our support.
Was this doc helpful?


