Creating a custom header for your site is really simple with CoDesigner. You can design it any way you want and add any Elementor widget of your choice in the header template.
Here are the steps to create a simple header with CoDesigner –
1. Go to WordPress dashboard and click on Templates

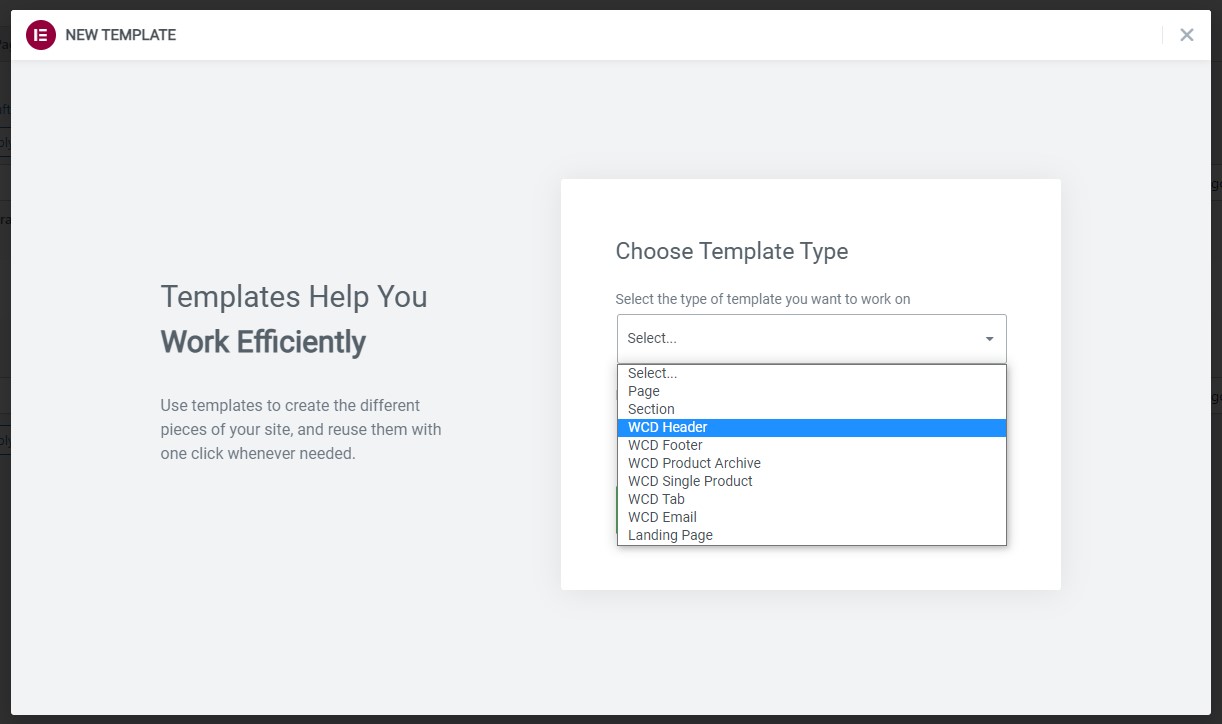
2. Click on Add New button and on the pop-up screen select WCD Header.
3. Now give a name to the template and press the Create Template button.

4. After naming the template you will be automatically redirected to an Elementor editor page. Here You can add sections and start creating the new header. For example, I’m adding 1 section with 3 columns to the template and resizing the columns in 10%, 35%, and 55% in width.

5. In the First Column I will insert a demo logo (1), in the second column a spacer (you can also keep it blank if you want), and in the third column, I will drag and drop the Basic Menu by CoDesigner (2).

6. You can make this header responsive for tablets and mobile devices or create a new header with the Basic Menu by CoDesigner. Note that, the basic menu will appear in hamburger style on mobile devices.
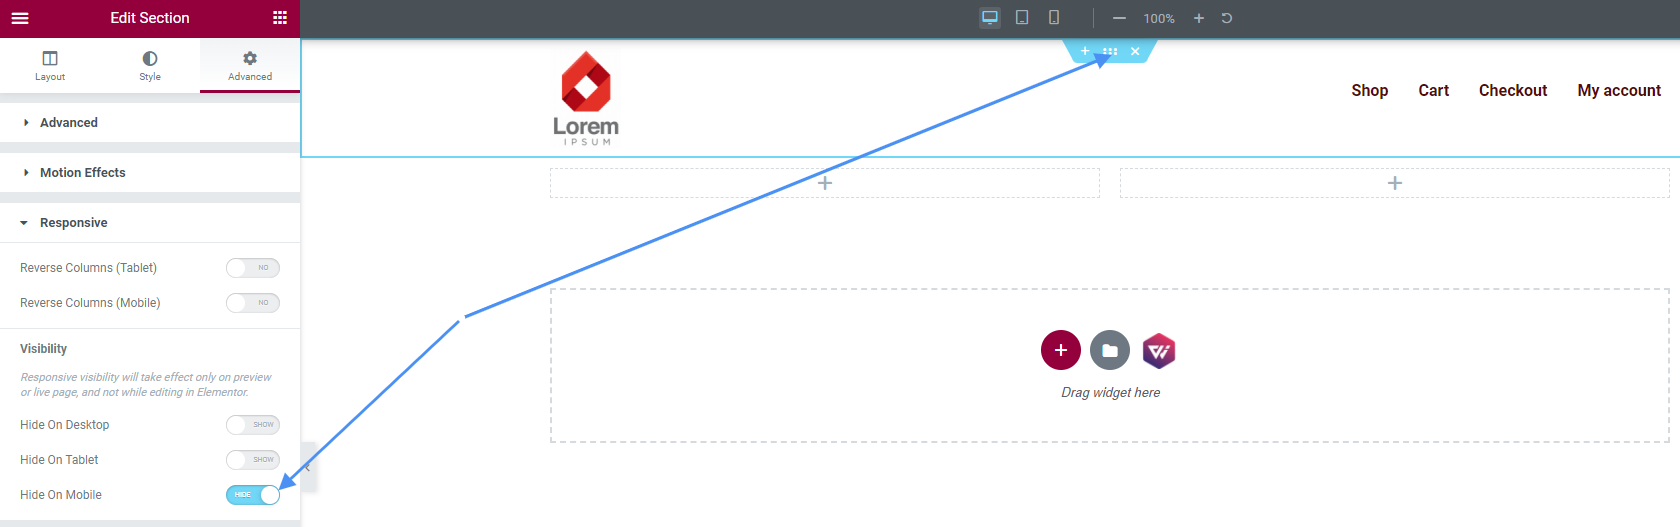
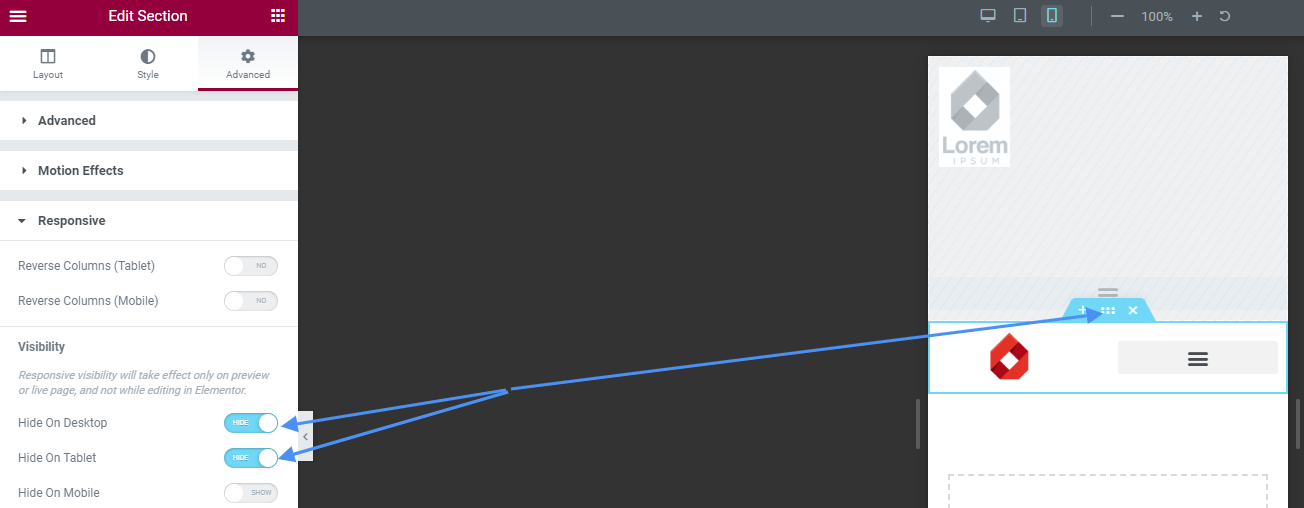
8. If you create a new menu for mobile devices, make sure to hide the previous menu for mobiles as shown in the screenshot below. Also, hide the mobile menu for the desktop and tablets in the advanced settings of the section.
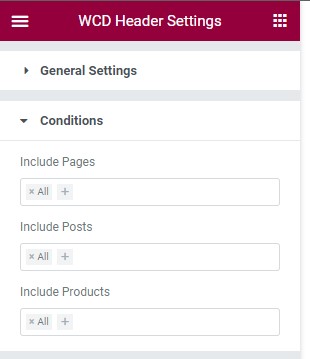
9. Now I will publish the changes and set conditions for the header to display on all types of pages, posts, and products.
That’s it! Now, this freshly created header will be visible on all the pages as the default header.

If you want to create a new eye-catching footer for your site then have a peek at this documentation.