How can I install and activate Share Logins on my website?
Managing multiple WordPress sites can be challenging, but Share Logins makes it easy. It allows you to seamlessly sync user activities across all your WordPress sites from a single, convenient dashboard. Share Logins is a premium WordPress plugin. To install it, you’ll need to purchase Share Logins first. You can buy it here. Follow these steps to install and activate the Share Logins on your WordPress site
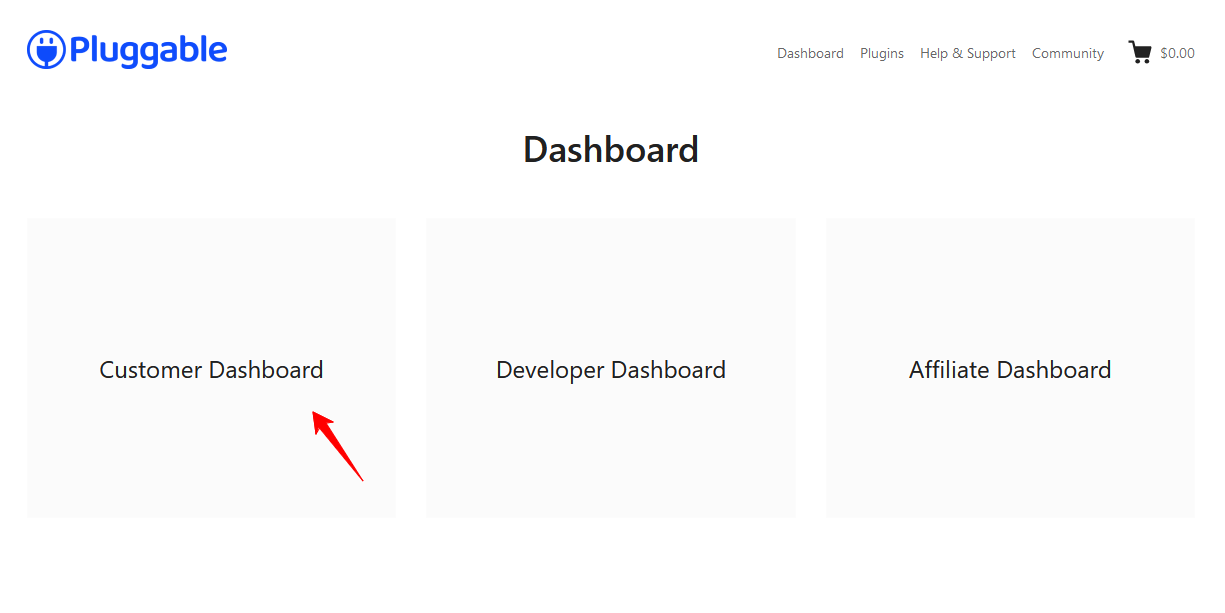
Step 1: Go to https://my.pluggable.io and log in to the Pluggable dashboard. Once logged in, click on the Customer Dashboard option.
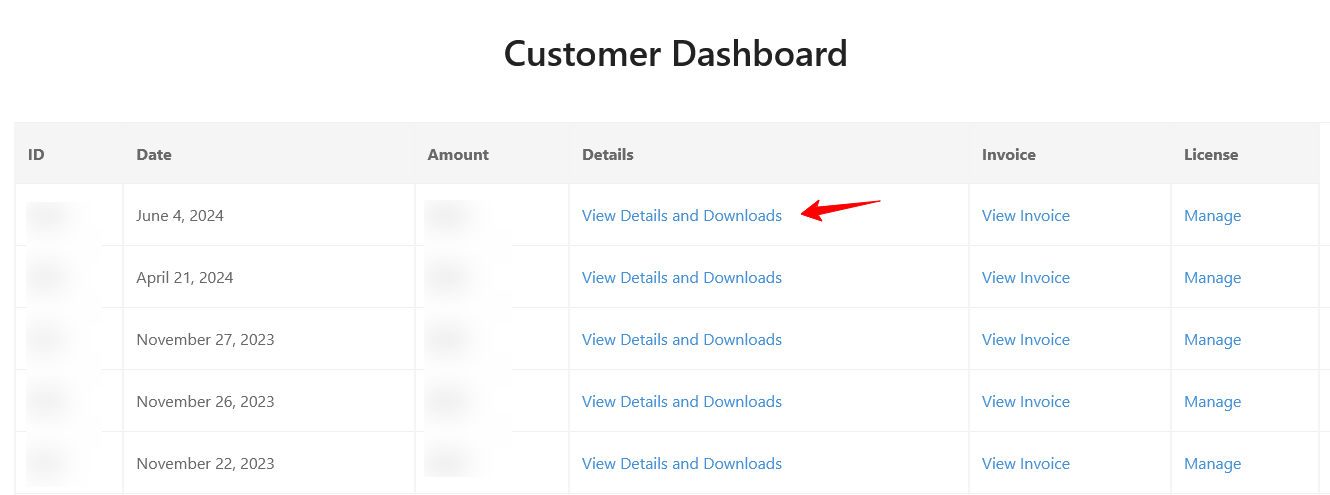
Step 2: Then you have to download the zip file of Share Logins Pro from the Pluggable dashboard. Click on View Details and Downloads and below the page you will find Download.
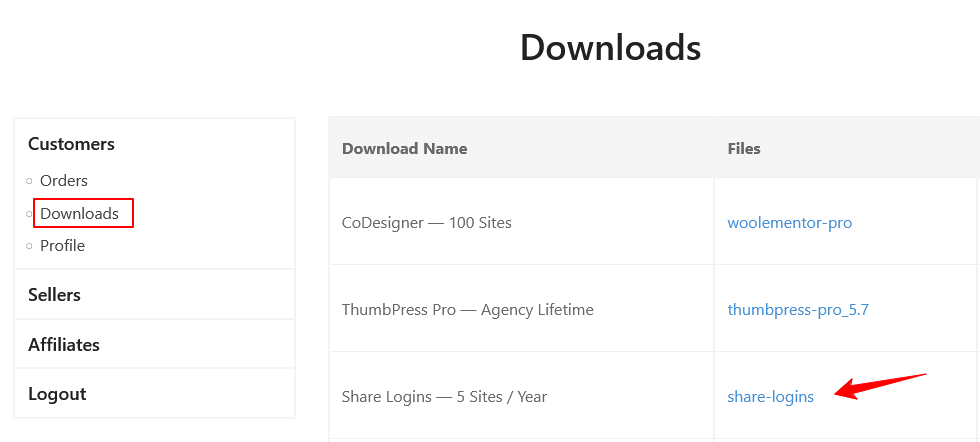
Step 3: You can also download Share Logins Pro from Pluggable dashboard by navigating Customer >Downloads > Share Logins Pro.
Step 4: After downloading the zip file, go to the WordPress dashboard and navigate to Plugins > Add New Plugin > Upload Plugin. After the Uploading is complete, click on the activate button.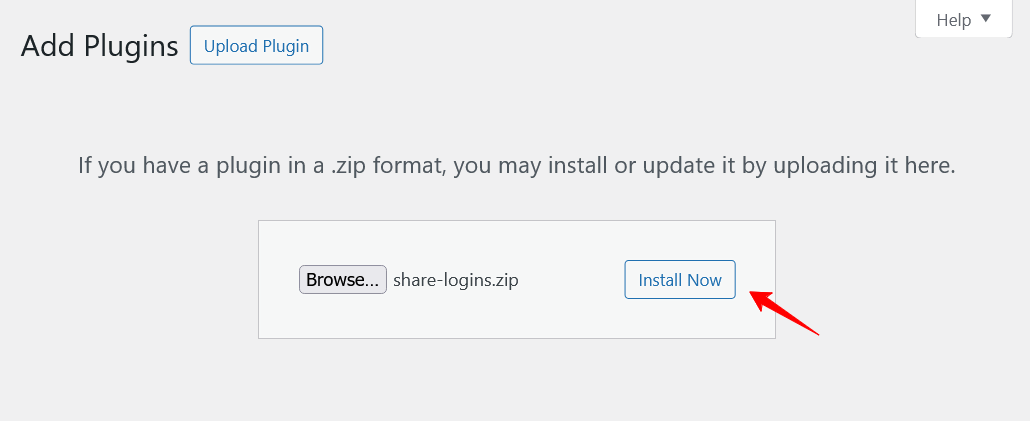
Step 5: After activating the Share Logins Pro plugin, a notification will appear at the top of your WordPress dashboard asking you to activate the license.
Step 6: Click the Activate it now or Activate button. A pop-up will appear displaying your license details. Simply click the green Connect button to finalize the activation.
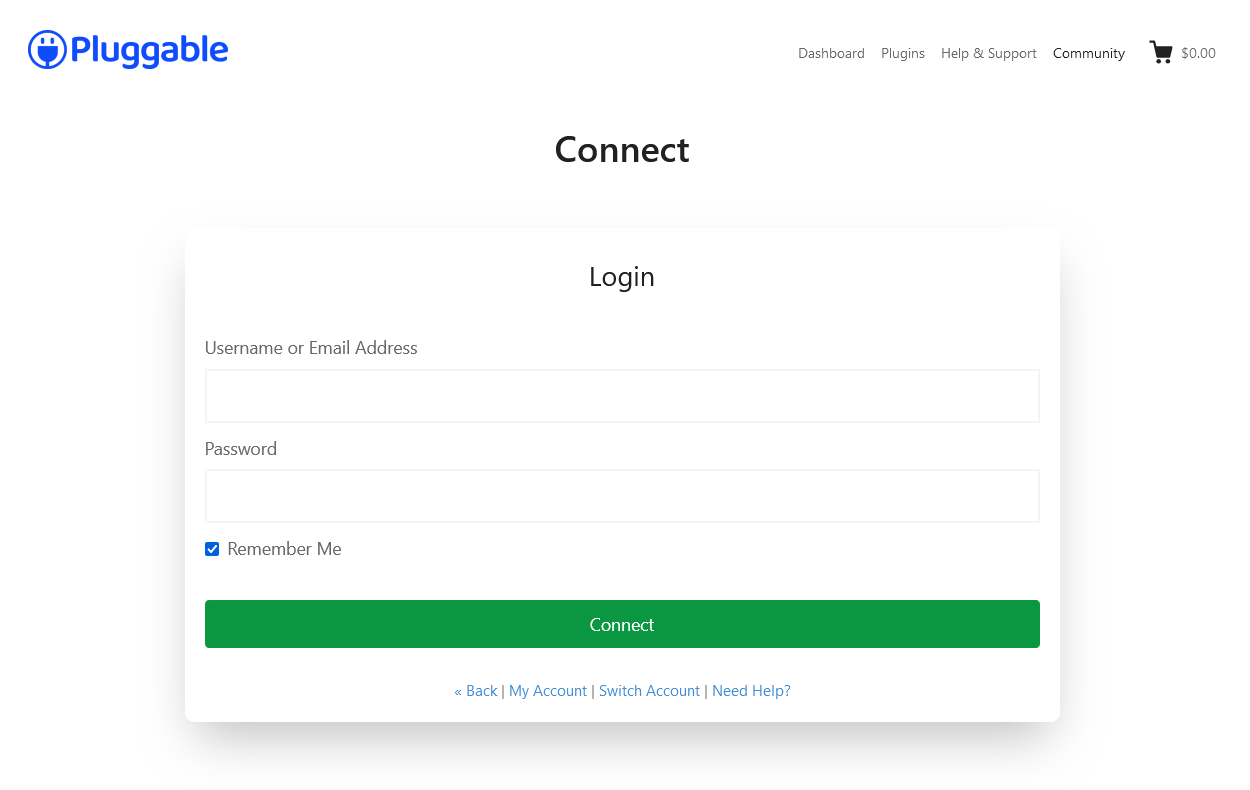 Choose associate license from the Pluggable dashboard and finally activate your Share Logins License. If you require any assitance feel free to reach out to support. We’d be happy to assist you with your queries.
Was this doc helpful?


